Installing Jupyter
This is a guide for installing and setting up Jupyter to use with Visual Studio Code.
If you do not already have VS Code installed, install it here.
You also need to have installed Python.
Installing the Jupyter VS Code Extension
In VS Code, we need to install an extension to support Julia.
- Install the Jupyter VS Code Extension
This is done most easily from within VS Code, by clicking on the “Extensions” tab and searching for “Jupyter”.
Install Jupyter
Open a folder in VS Code as a workspace
Launch a terminal in VS Code and run the following:
terminal
python3 -m pip install jupyterJupyter is now installed in your global environment!
Edit Jupyter Notebook in VS Code
- Create an empty file called “example.ipynb”, open it in VS Code
VS Code will recognize it as a Jupyter Notebook and display it as below.
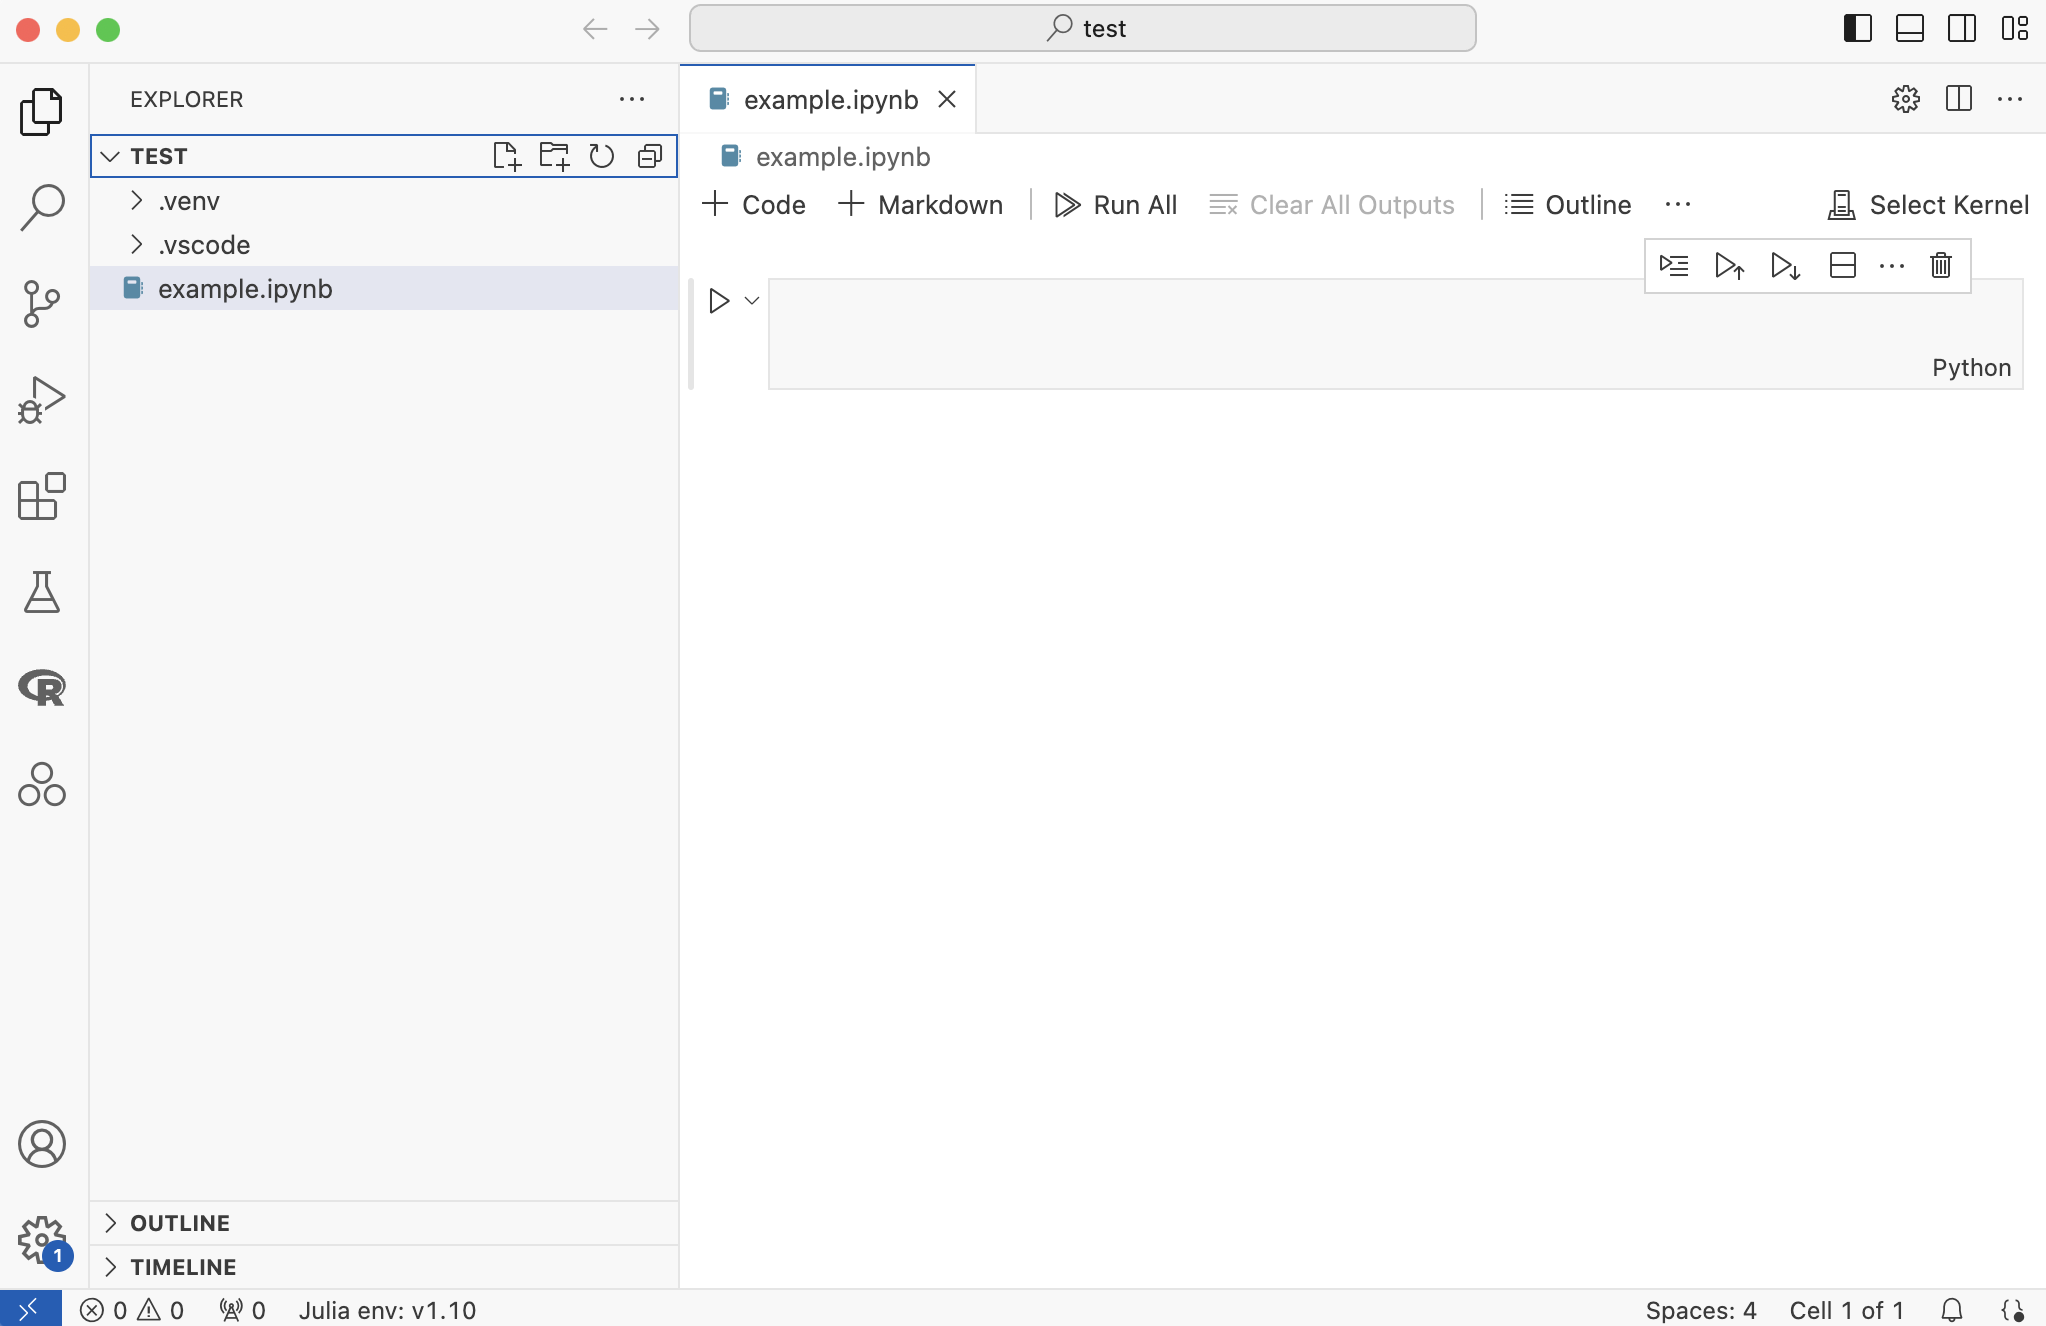
Before we can run any code, we need to select a kernel to use.
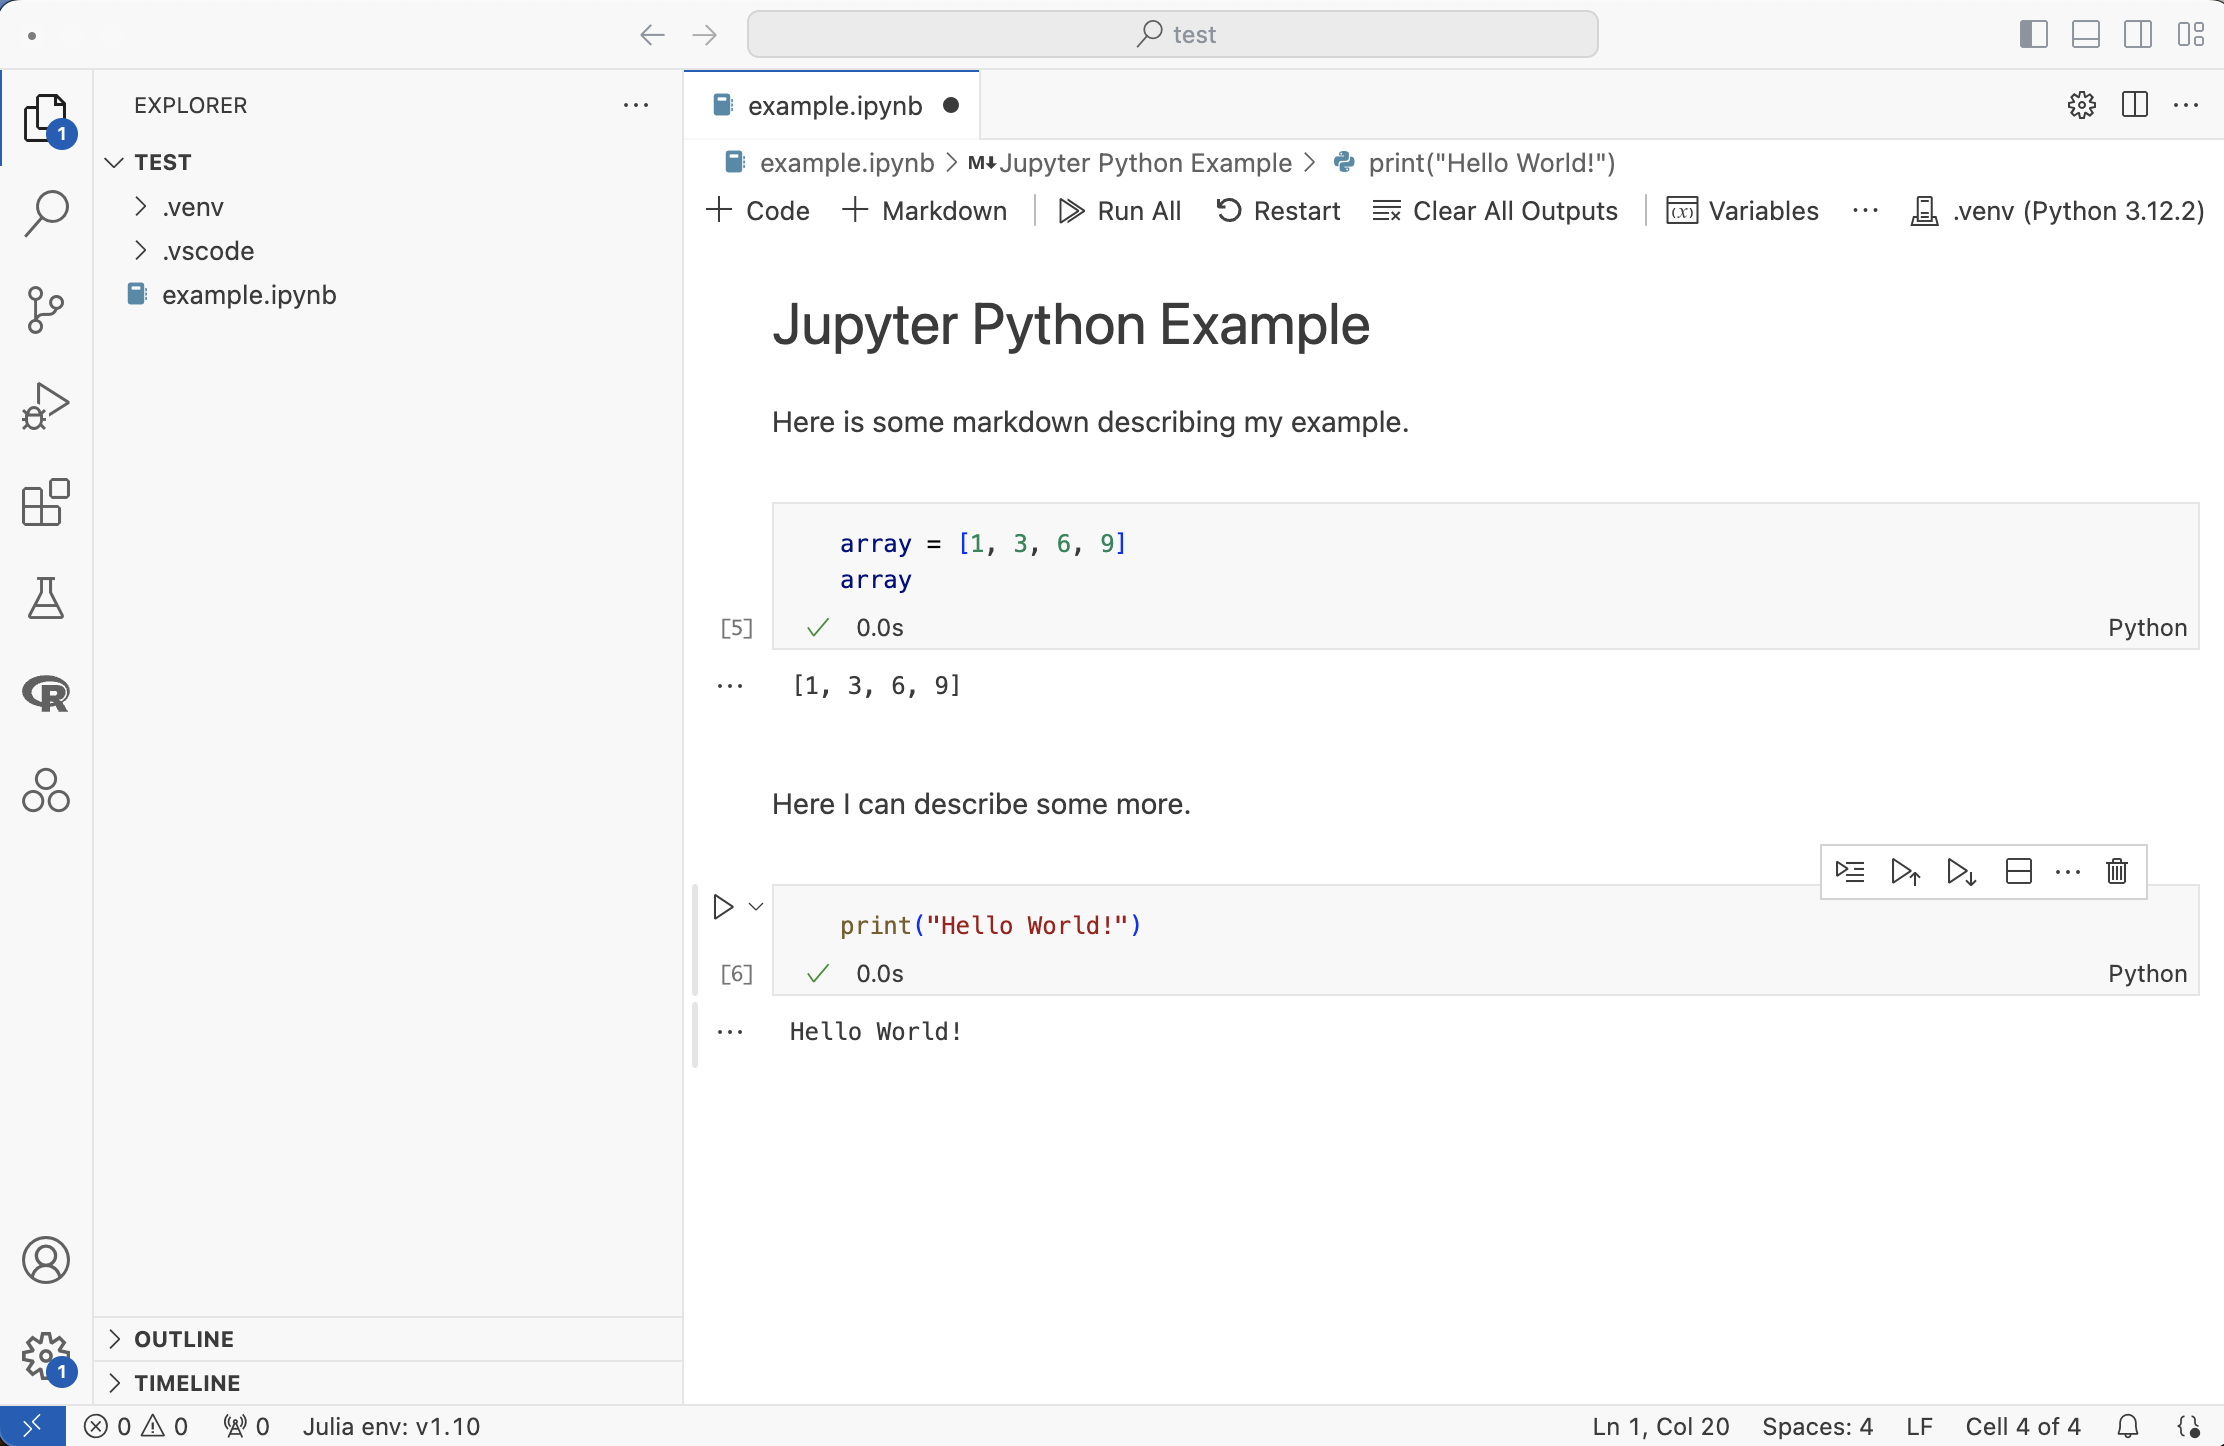
- Click “Select Kernel”, then “Python Environments…”, then your python interpreter
Now you can add code blocks or markdown blocks, and execute each with either the “play” buttons or the Shift+Enter shortcut.
Launch Jupyter Interactive Window
Jupyter also has an “Interactive Window” that allows you to run code in a Jupyter environment without needing to create a notebook file.
This basically is a nicer python terminal that supports pretty formatting, inline plots, etc.
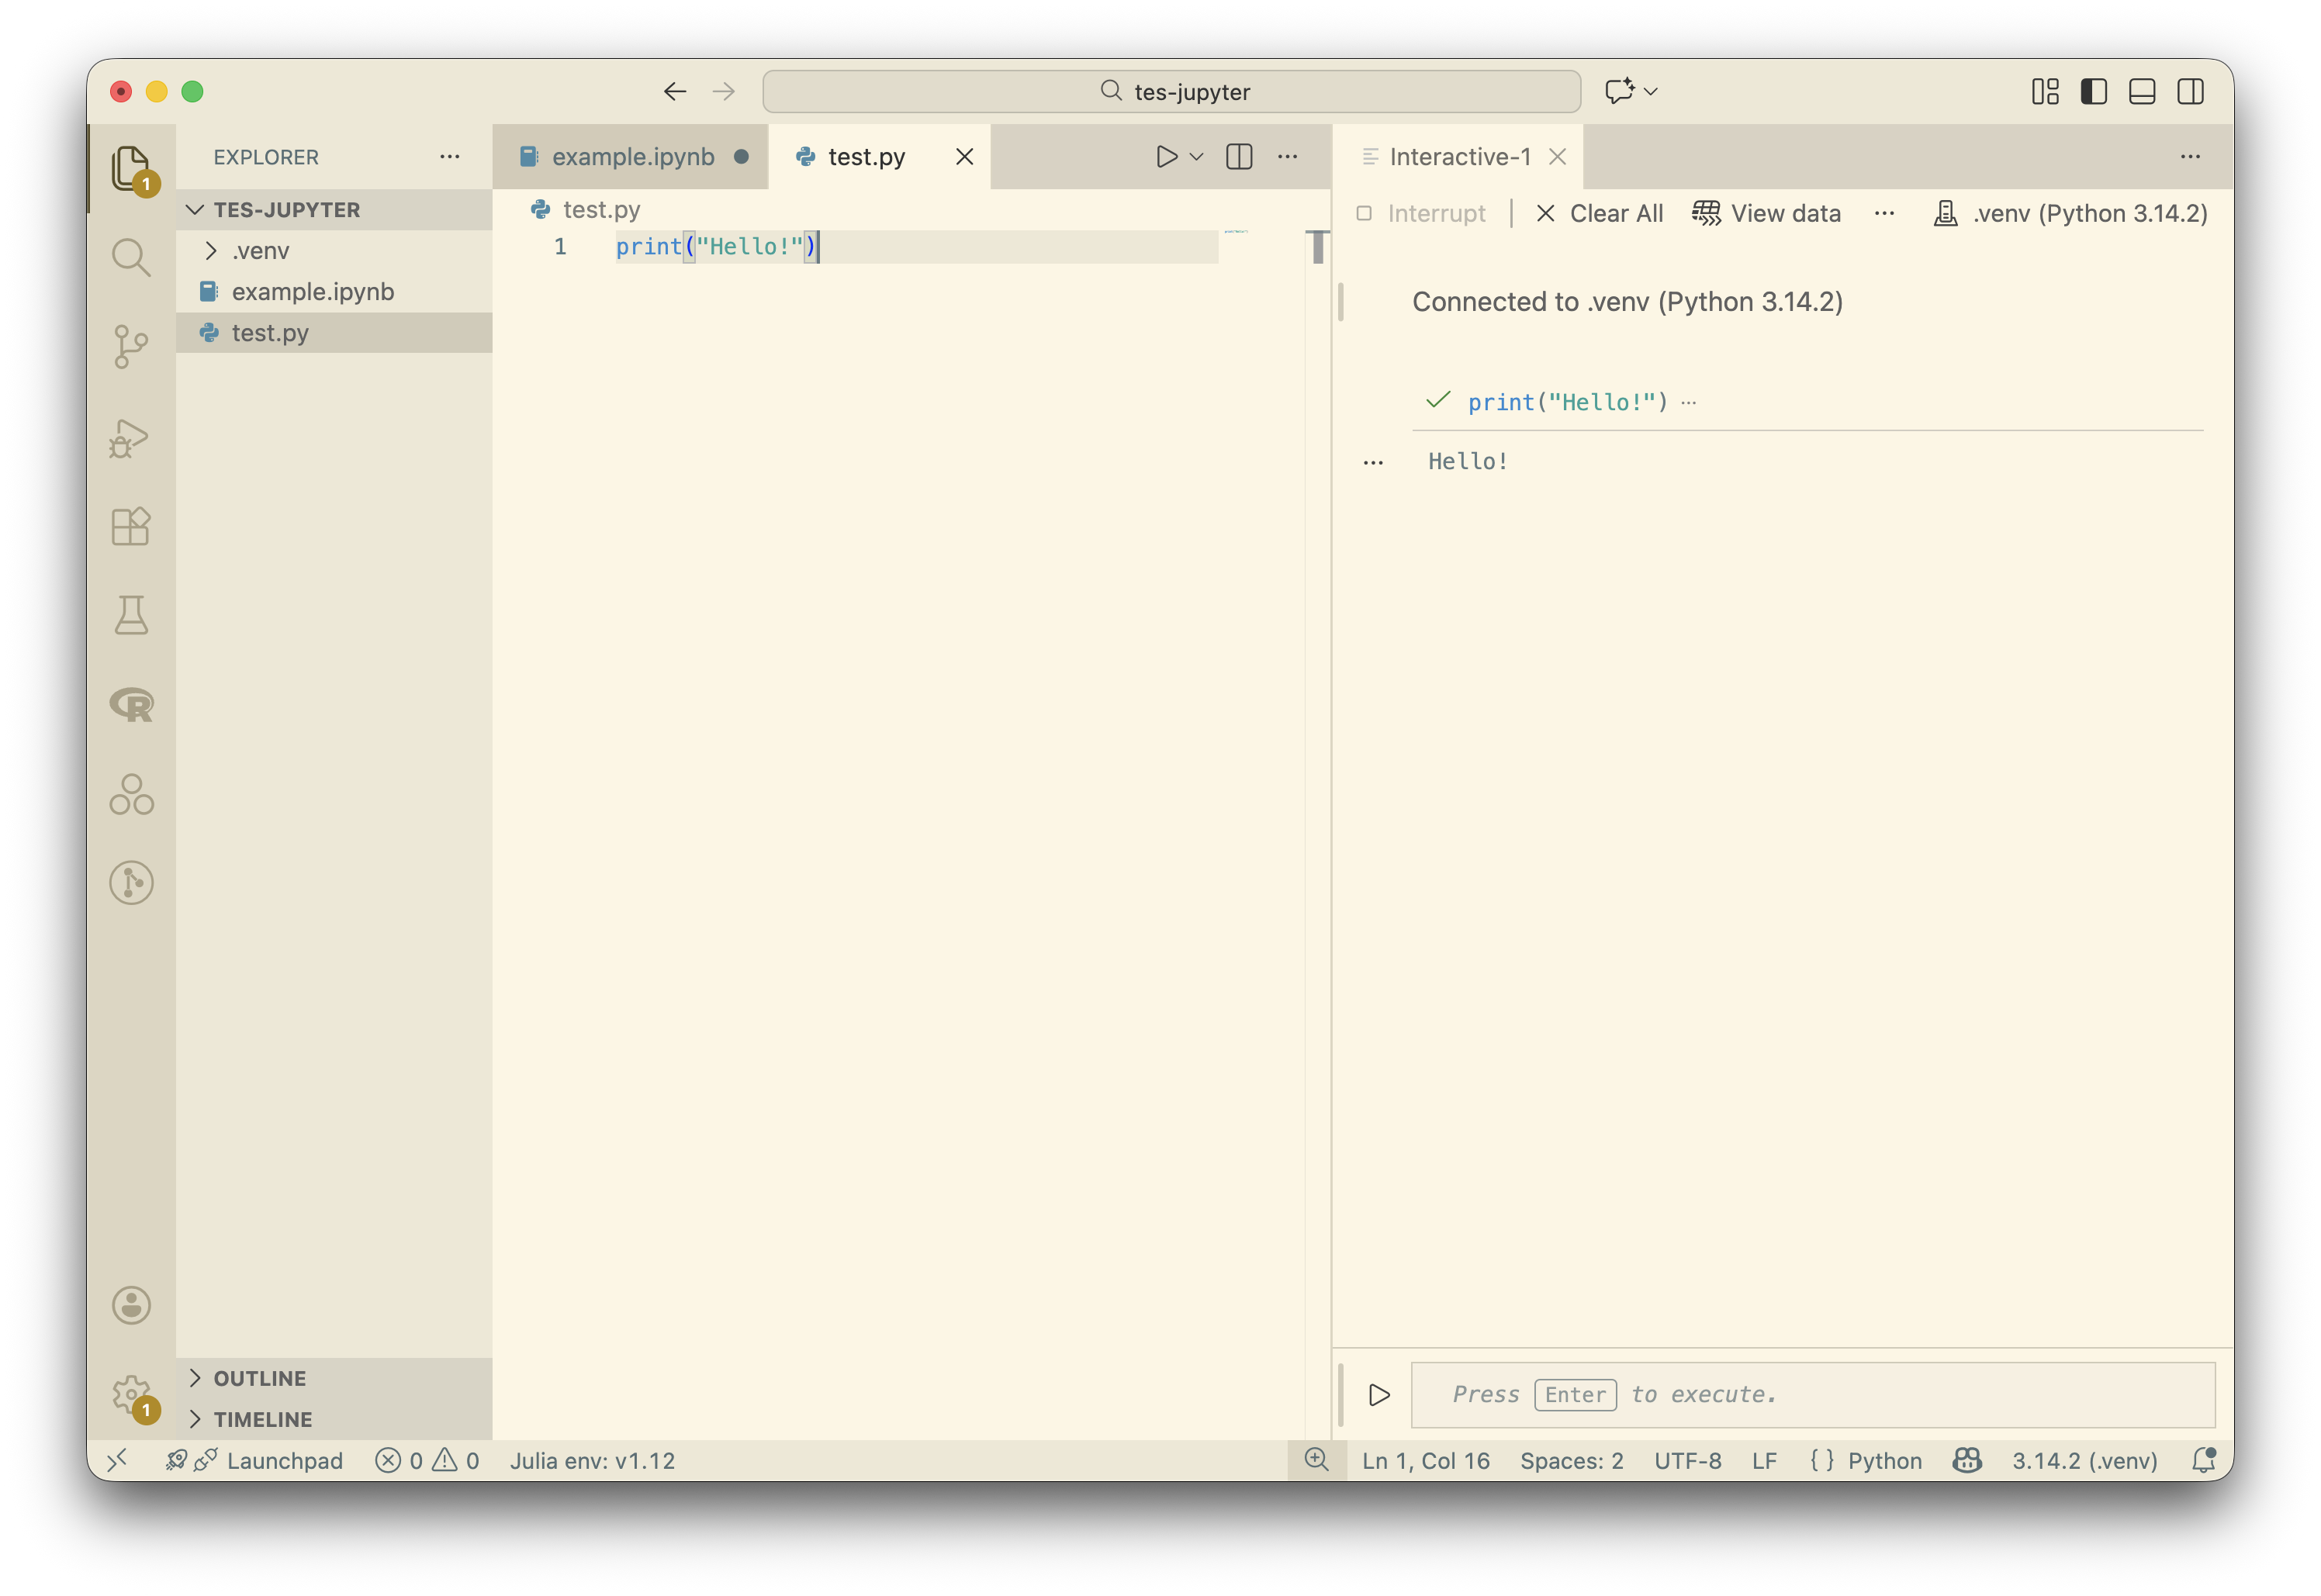
- From the command pallette, select “Jupyter: Create Interactive Window”
You may need to also select a kernel at the top right to use for this interactive window.
You can type code direrctly into the interactive window, or you can run code from a python file in the interactive window by clicking on the “play” button and selecting “Run Current File in Interactive Window”.
I prefer to change my VS Code setting “jupyter.interactiveWindow.textEditor.executeSelection” so that it always runs my python code in an interactive window rather than the default python terminal.
Python Environments
If you have a python .venv environment in your project folder, you can select that as your kernel for your Jupyter notebook or your Interactive Window.
This is a good way to manage your python dependencies on a per-project basis, and it is generally recommended to use a virtual environment for each project.
You will need to re-install Jupyter in your virtual environment. It should be very fast to install Jupyter in a virtual environment, since it is already installed globally and the virtual environment will just link to the global installation.
Optional: Use Other Kernels
Julia Kernel
In order to use Julia in a Jupyter Notebook you must first have installed Julia.
You should install the following package to the default Julia environment (i.e. system-wide).
Install the
IJuliapackage.Create a new Jupyter Notebook file
Click “Select Kernel”, then “Julia 1.10.2”
You can now use Julia in your code cells for this document.
R Kernel
In order to use R in a Jupyter Notebook you must first have installed R.
You should install the following package to the default R environment (i.e. system-wide).
Install the
IRkernelpackage.Run the following in an R terminal:
IRkernel::installspec()This command registers R as a kernel to use for Jupyter.
Create a new Jupyter Notebook file
Click “Select Kernel”, then “Jupyter Kernel…”, then “R”
You can now use R in your code cells for this document.