msg = "Hello World!"
println(msg)
Hello World!This is a guide for installing and setting up Julia to use with Visual Studio Code.
If you do not already have VS Code installed, install it here.
If you are on macOS, I would recommend using homebrew instead, and installing Julia with the following command:
terminal
brew install juliaIn VS Code, we need to install an extension to support Julia.
This is done most easily from within VS Code, by clicking on the “Extensions” tab and searching for “Julia”.
Open a new folder called “test-jl” in VS Code for this example.
VS Code should automatically recognize this is a Julia file.
msg = "Hello World!"
println(msg)Hello World!You have two main options for running the Python Code:
Run the whole file: Click on the “Run” arrow button at the top of the VS Code window
Run the current line or selection: hit Shift+Enter
Option 2 tends to be better for editing and iterating on code. Notice that it starts a live Julia session in a terminal. You can tell it’s a Julia terminal by the prompt: julia>. You may see this called a Julia “REPL” which stands for “read-eval-print loop” and is simply an interactive terminal.
Shift+Cmd+P), then searching for “Julia: Start REPL”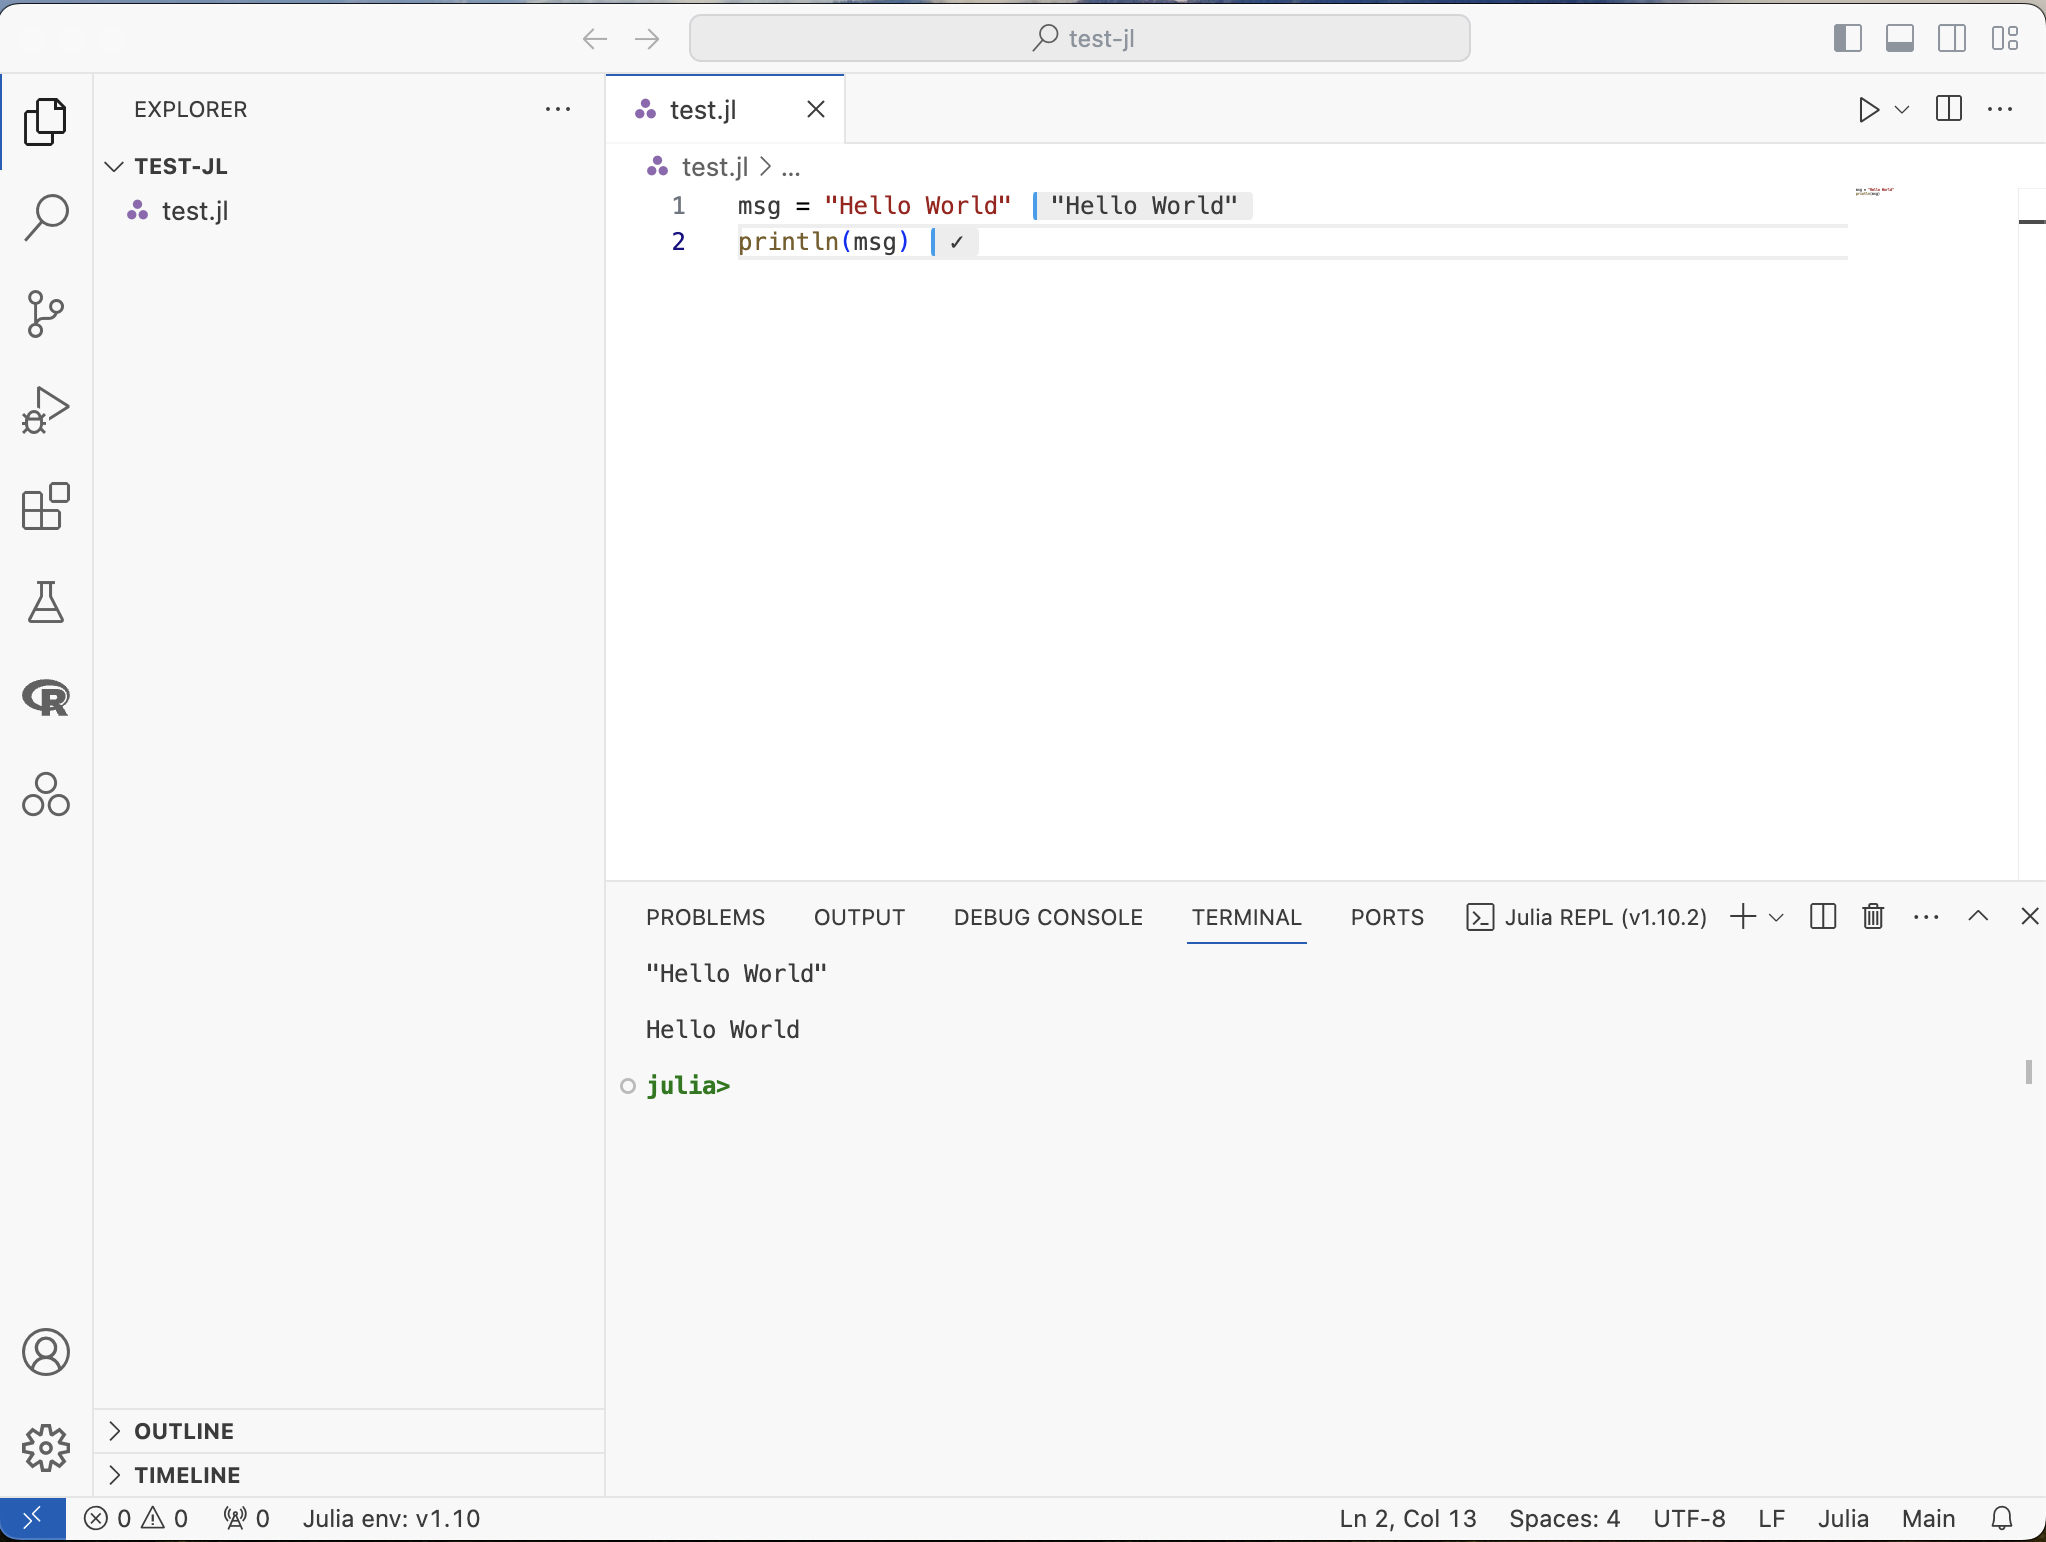
Julia has a built-in package and environment manager: Pkg.jl.
You can install packages system wide, but we are going to first set up an environment for our project. Environments are important to keep the packages installed for each project separate.
]This switches the prompt from “julia>” to “(@v1.10) pkg>” (where the version number matches the version of Julia you installed). We can now send commands to the package manager.
pkg>
activate .The . represtents here in paths. Activate is a command to start a Julia project, which is the Julia term for an enviroment.
The only change you will notice is that the package manager prompt is now “(test-jl) pkg>”
add DataFramesThis will download and compile the DataFrames package.
You should see two new files in your folder:
“Project.toml” contains a list of all the packages you have installed. “Manifest.toml” contains a list of your Julia version, your package versions, and the packages those packages depend upon.
You can commit these two files when you are using Git and someone will be able to recreate your environment by simply running activate . in this folder.
A gif of entering the package manager, activating an environment, adding a package, and exiting the package manager:
We need to tell VS Code to use this environment for this workspace.
Here are a couple options of how to do this:
Select ’Julia env: ___’ at the bottom left of the screen. Then choose the workspace environment “test-jl”.
Open Command Palette (Shift+Cmd+P), then choose “Julia: Activate This Environment”
Both options will add a new folder “.vscode”, with a “settings.json” file. Inside you will find a setting for “julia.environmentPath”. This is how VS Code will know what Julia environment to use. This “.vscode” shouldn’t be committed with Git, as it is specific to you and your machine.
An example using DataFrames after adding it to the environment.
using DataFrames

df = DataFrame(a=1:4, b=["Y", "N", "N", "Y"])| Row | a | b |
|---|---|---|
| Int64 | String | |
| 1 | 1 | Y |
| 2 | 2 | N |
| 3 | 3 | N |
| 4 | 4 | Y |
The keyword using loads all functions in a Julia package.