HTML Website Example
W3schools has a great set of HTML tutorials.
Starting a GitHub Pages website
Make a new GitHub repository, call it something like “test-html”
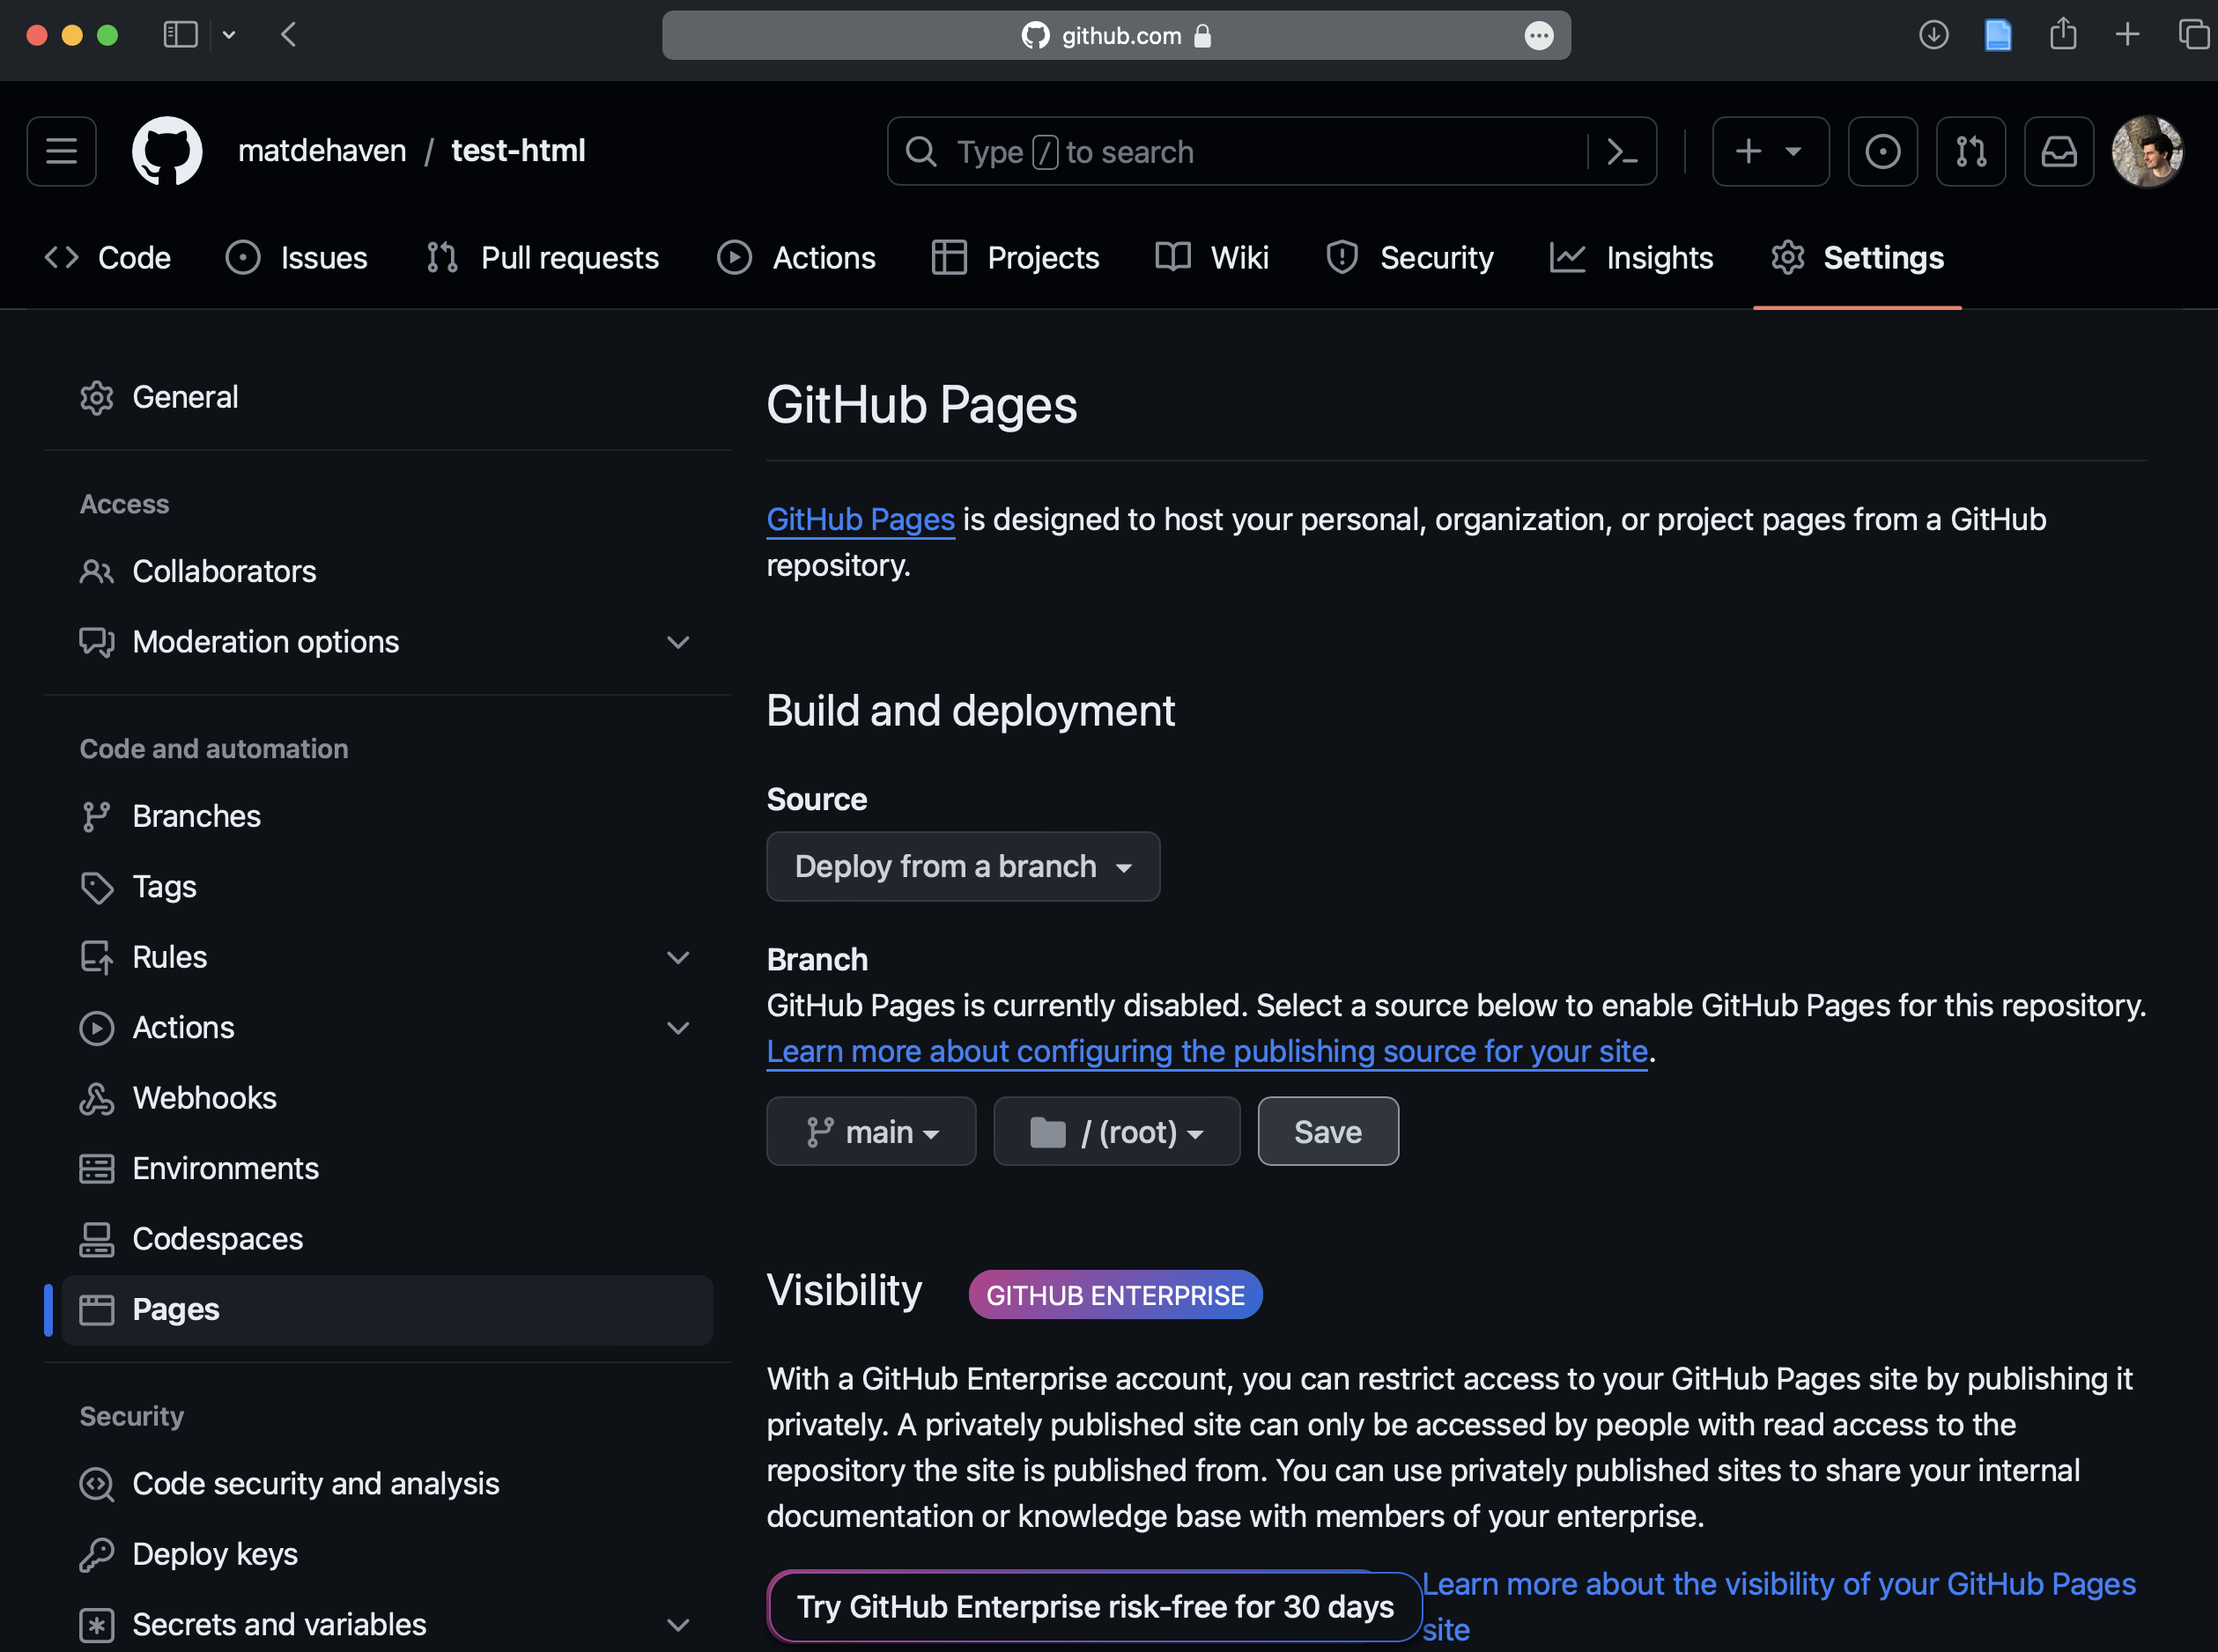
Open up “Settings”, go to “Pages”, and set the Branch to “main” and the folder to “root”
- Clone the repository to your computer
A Basic Website
- Create an “index.html” file and add the following:
index.html
<!DOCTYPE html>
<html>
  <head>
  </head>
  <body>
    <p>Hello <b>world</b>!</p>
    <div>
    <h2>My name is ...</h2>
    <p>I study ....</p>
    </div>
  </body>
</html>
Try opening this HTML file from your computer (i.e. in your browser).
- Commit the file and push it to GitHub.
When you go back to GitHub, you should seen an Action running called “pages build and deployment”.
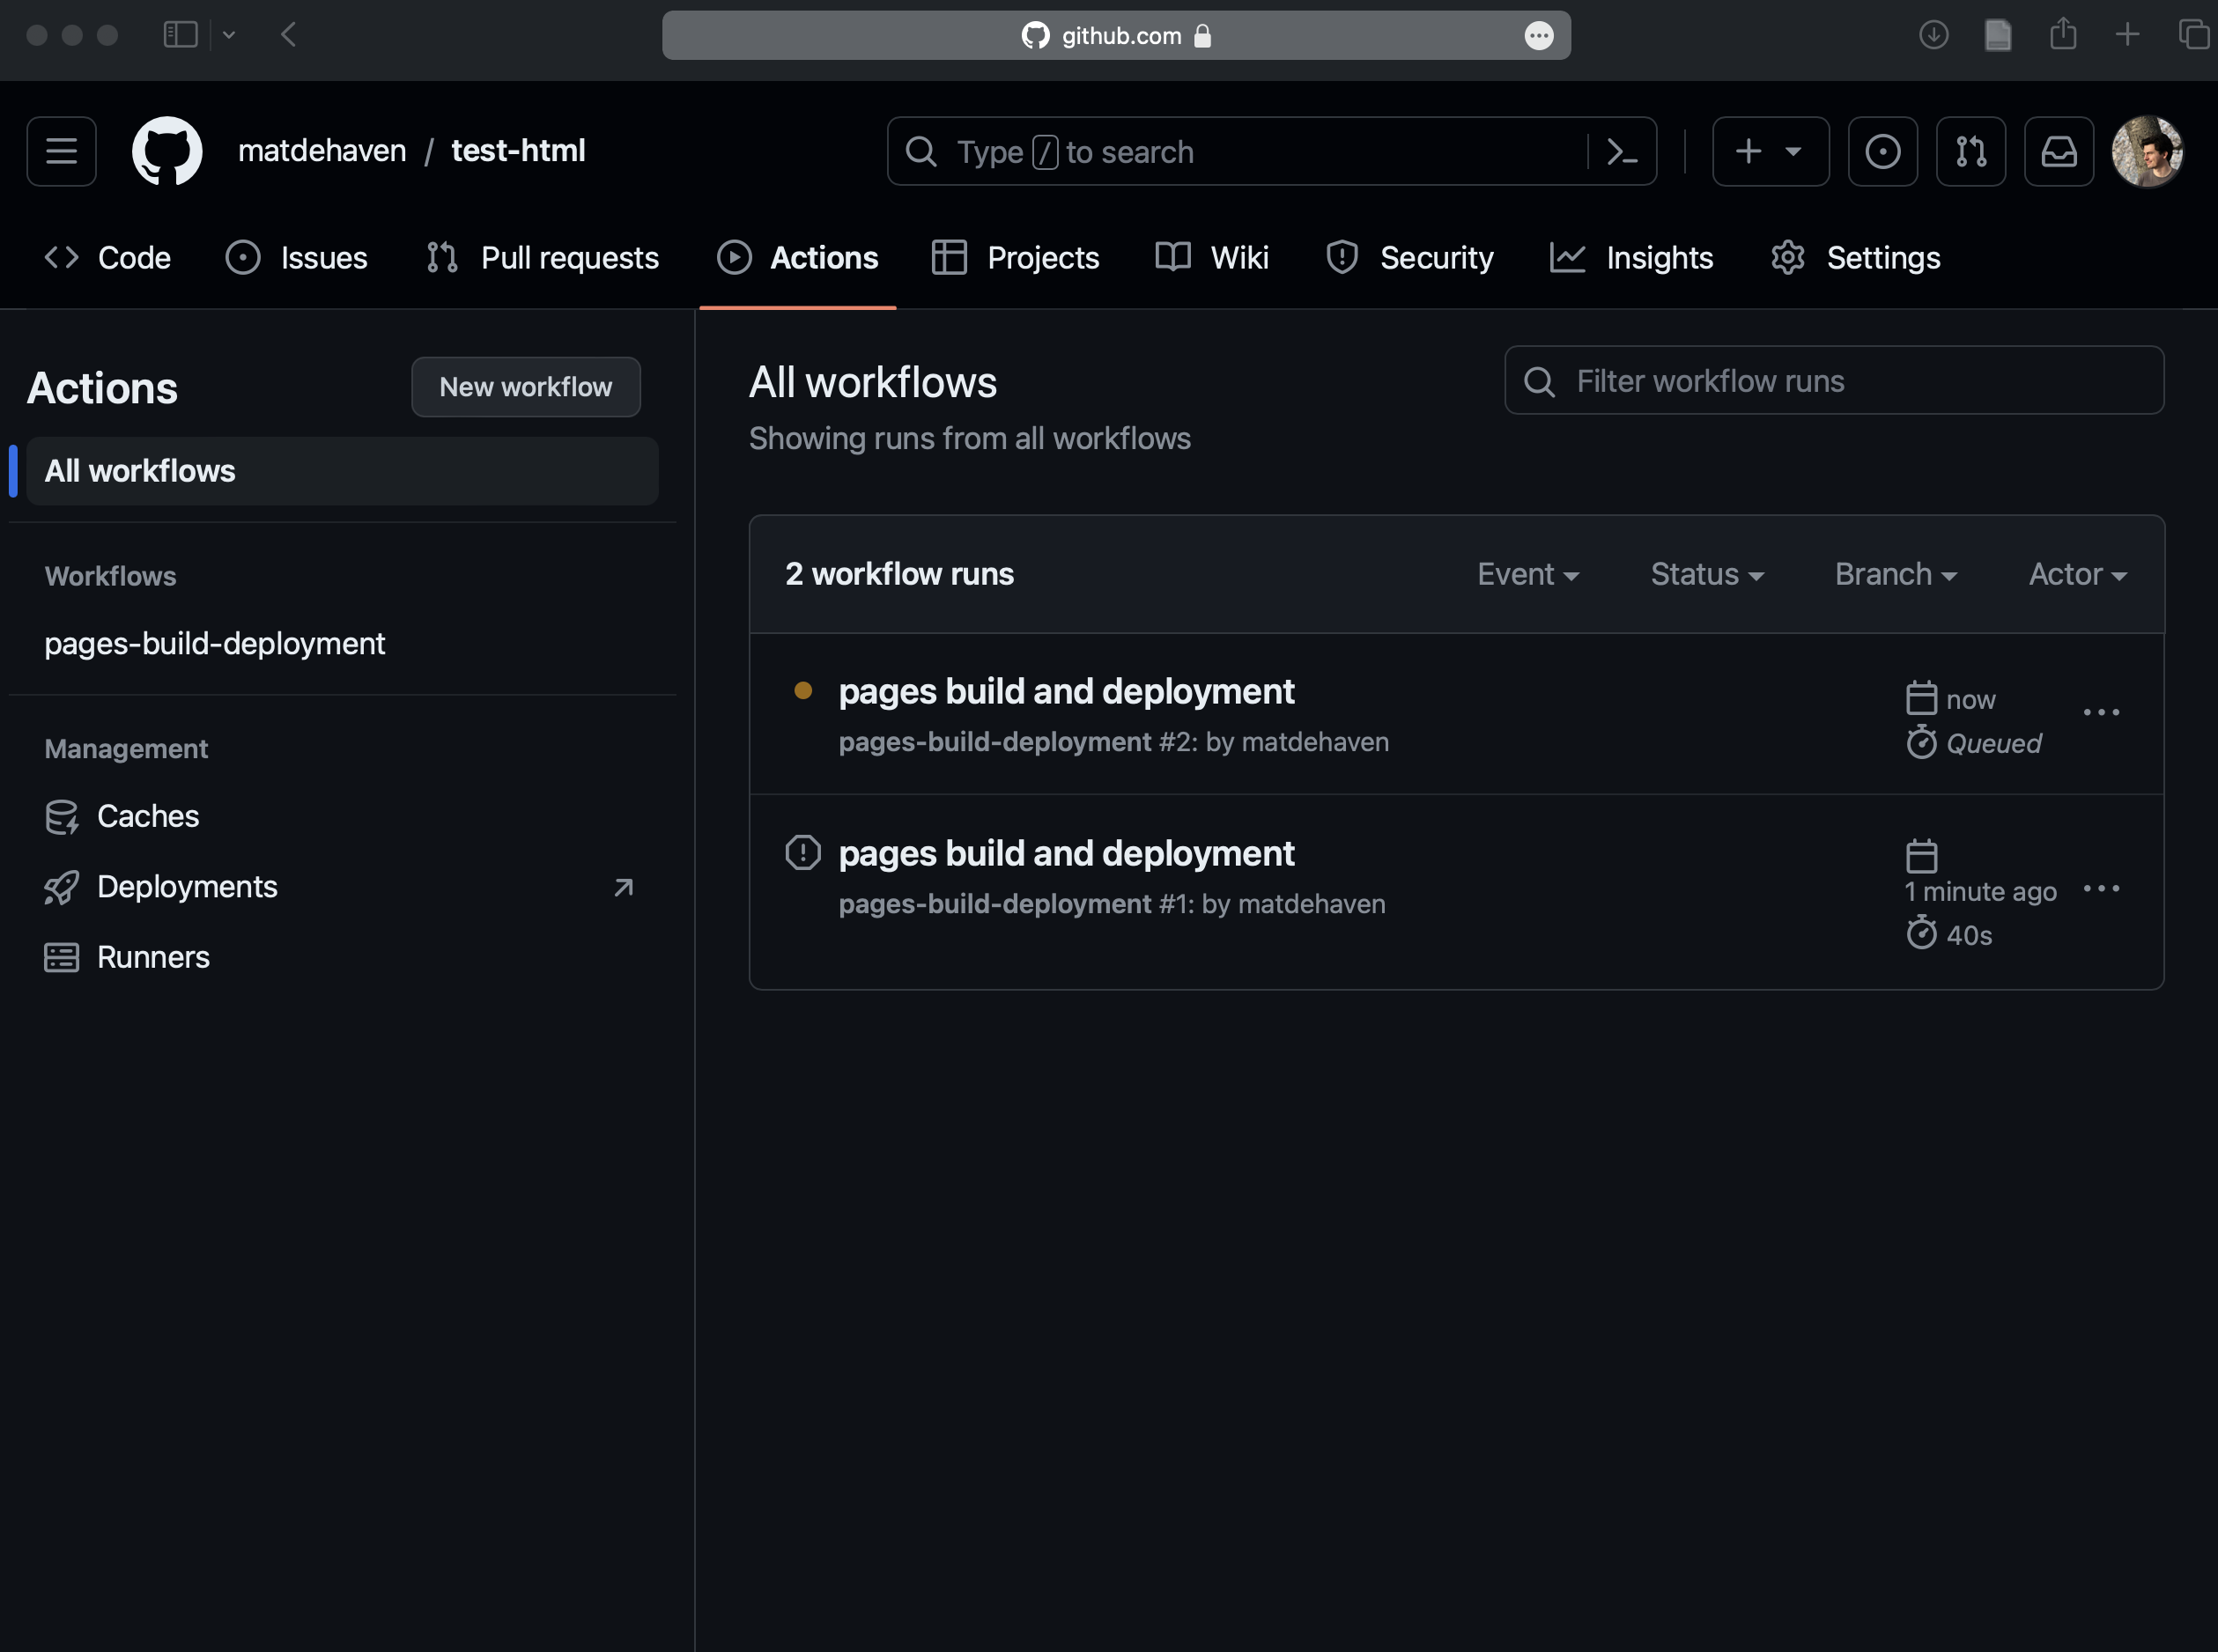
Once that has finished, go back to Settings > Pages, to find the URL for you website.
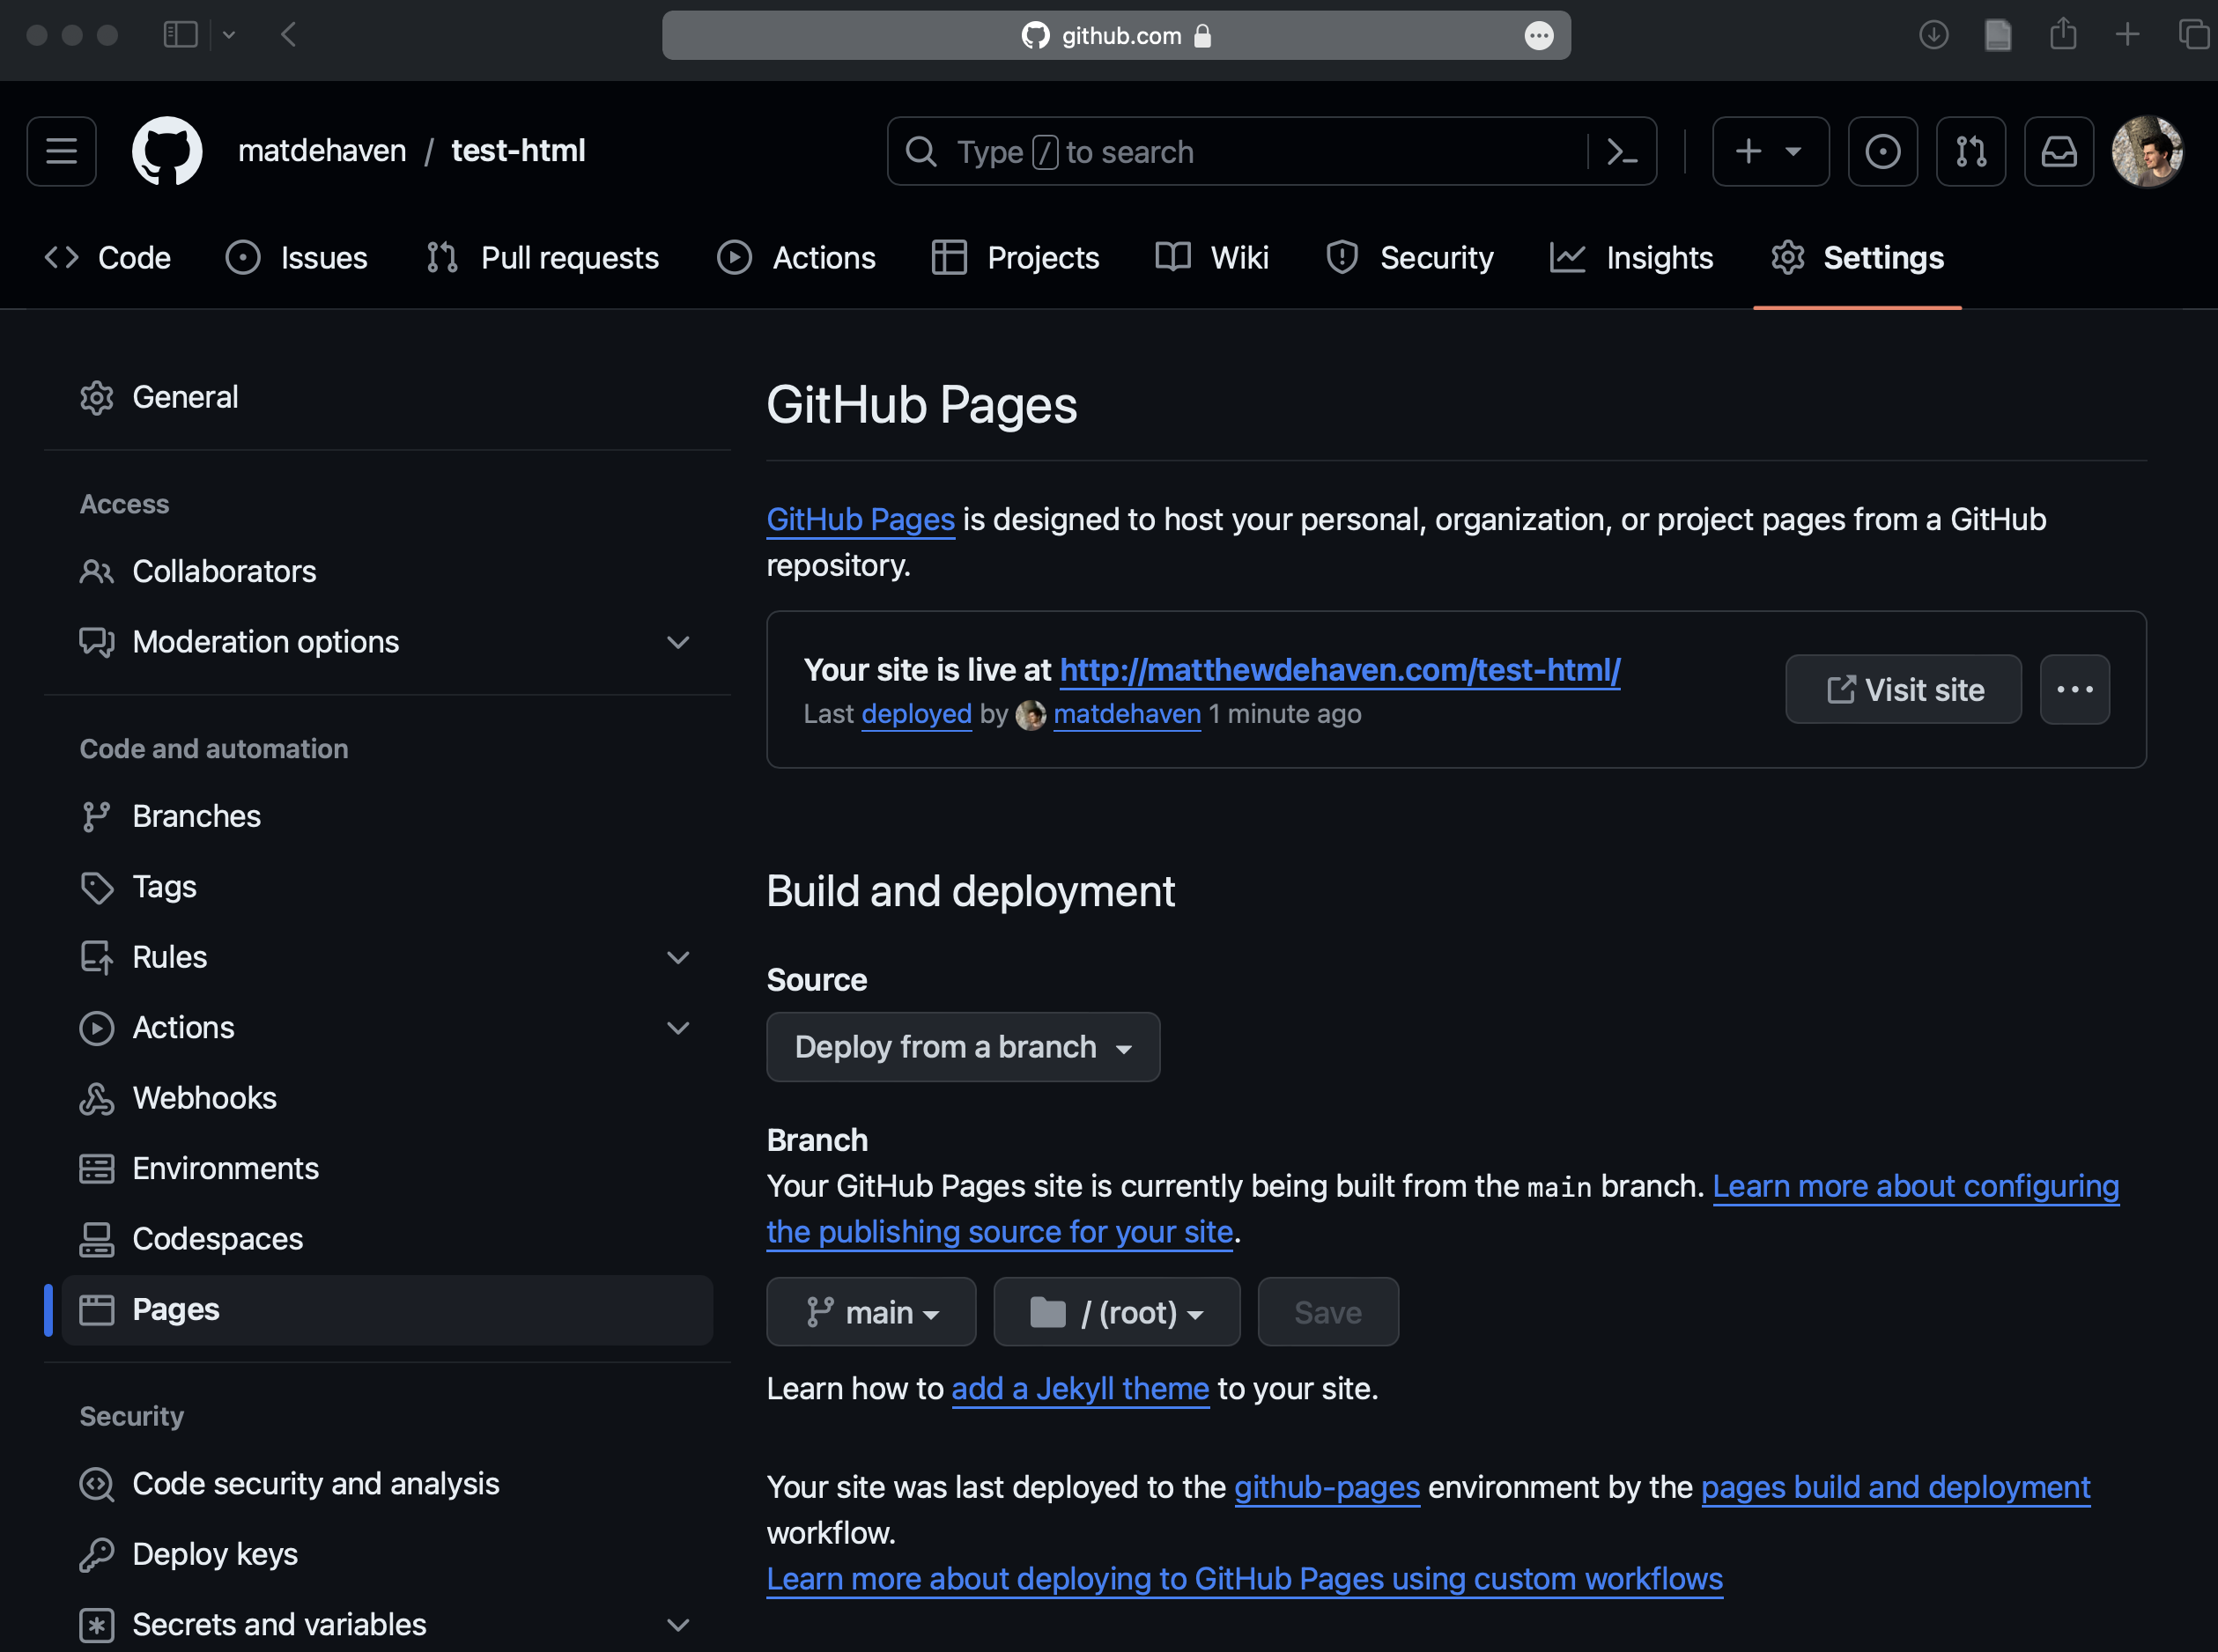
- Click on the URL, enjoy the website!
Adding a Second Page
Let’s add a second webpage.
When we do that, we will want to add a way to get to and from that page, so we will need links on each page.
- Edit your “index.html” and “about.html” as follows:
index.html
<!DOCTYPE html>
<html>
  <head>
  </head>
  <body>
    <ul>
      <li><a href="index.html">Home</a></li>
      <li><a href="about.html">About Me</a></li>
    </ul>
    <p>Hello <b>world</b>!</p>
    <div>
    <h2>My name is ...</h2>
    <p>I study ....</p>
    </div>
  </body>
</html>
about.html
<!DOCTYPE html>
<html>
  <head>
  </head>
  <body>
    <ul>
      <li><a href="index.html">Home</a></li>
      <li><a href="about.html">About Me</a></li>
    </ul>
    <p>Some text about me and what I like to do</p>
  </body>
</html>- Push the changes to GitHub, wait for them to go through, and click on your two pages!
Adding Bootstrap 5
If you want to use Bootstrap 5 features on any html page, you have to first load it.
- Add the following to the HTML header:
<link href="https://cdn.jsdelivr.net/npm/bootstrap@5.3.3/dist/css/bootstrap.min.css" rel="stylesheet">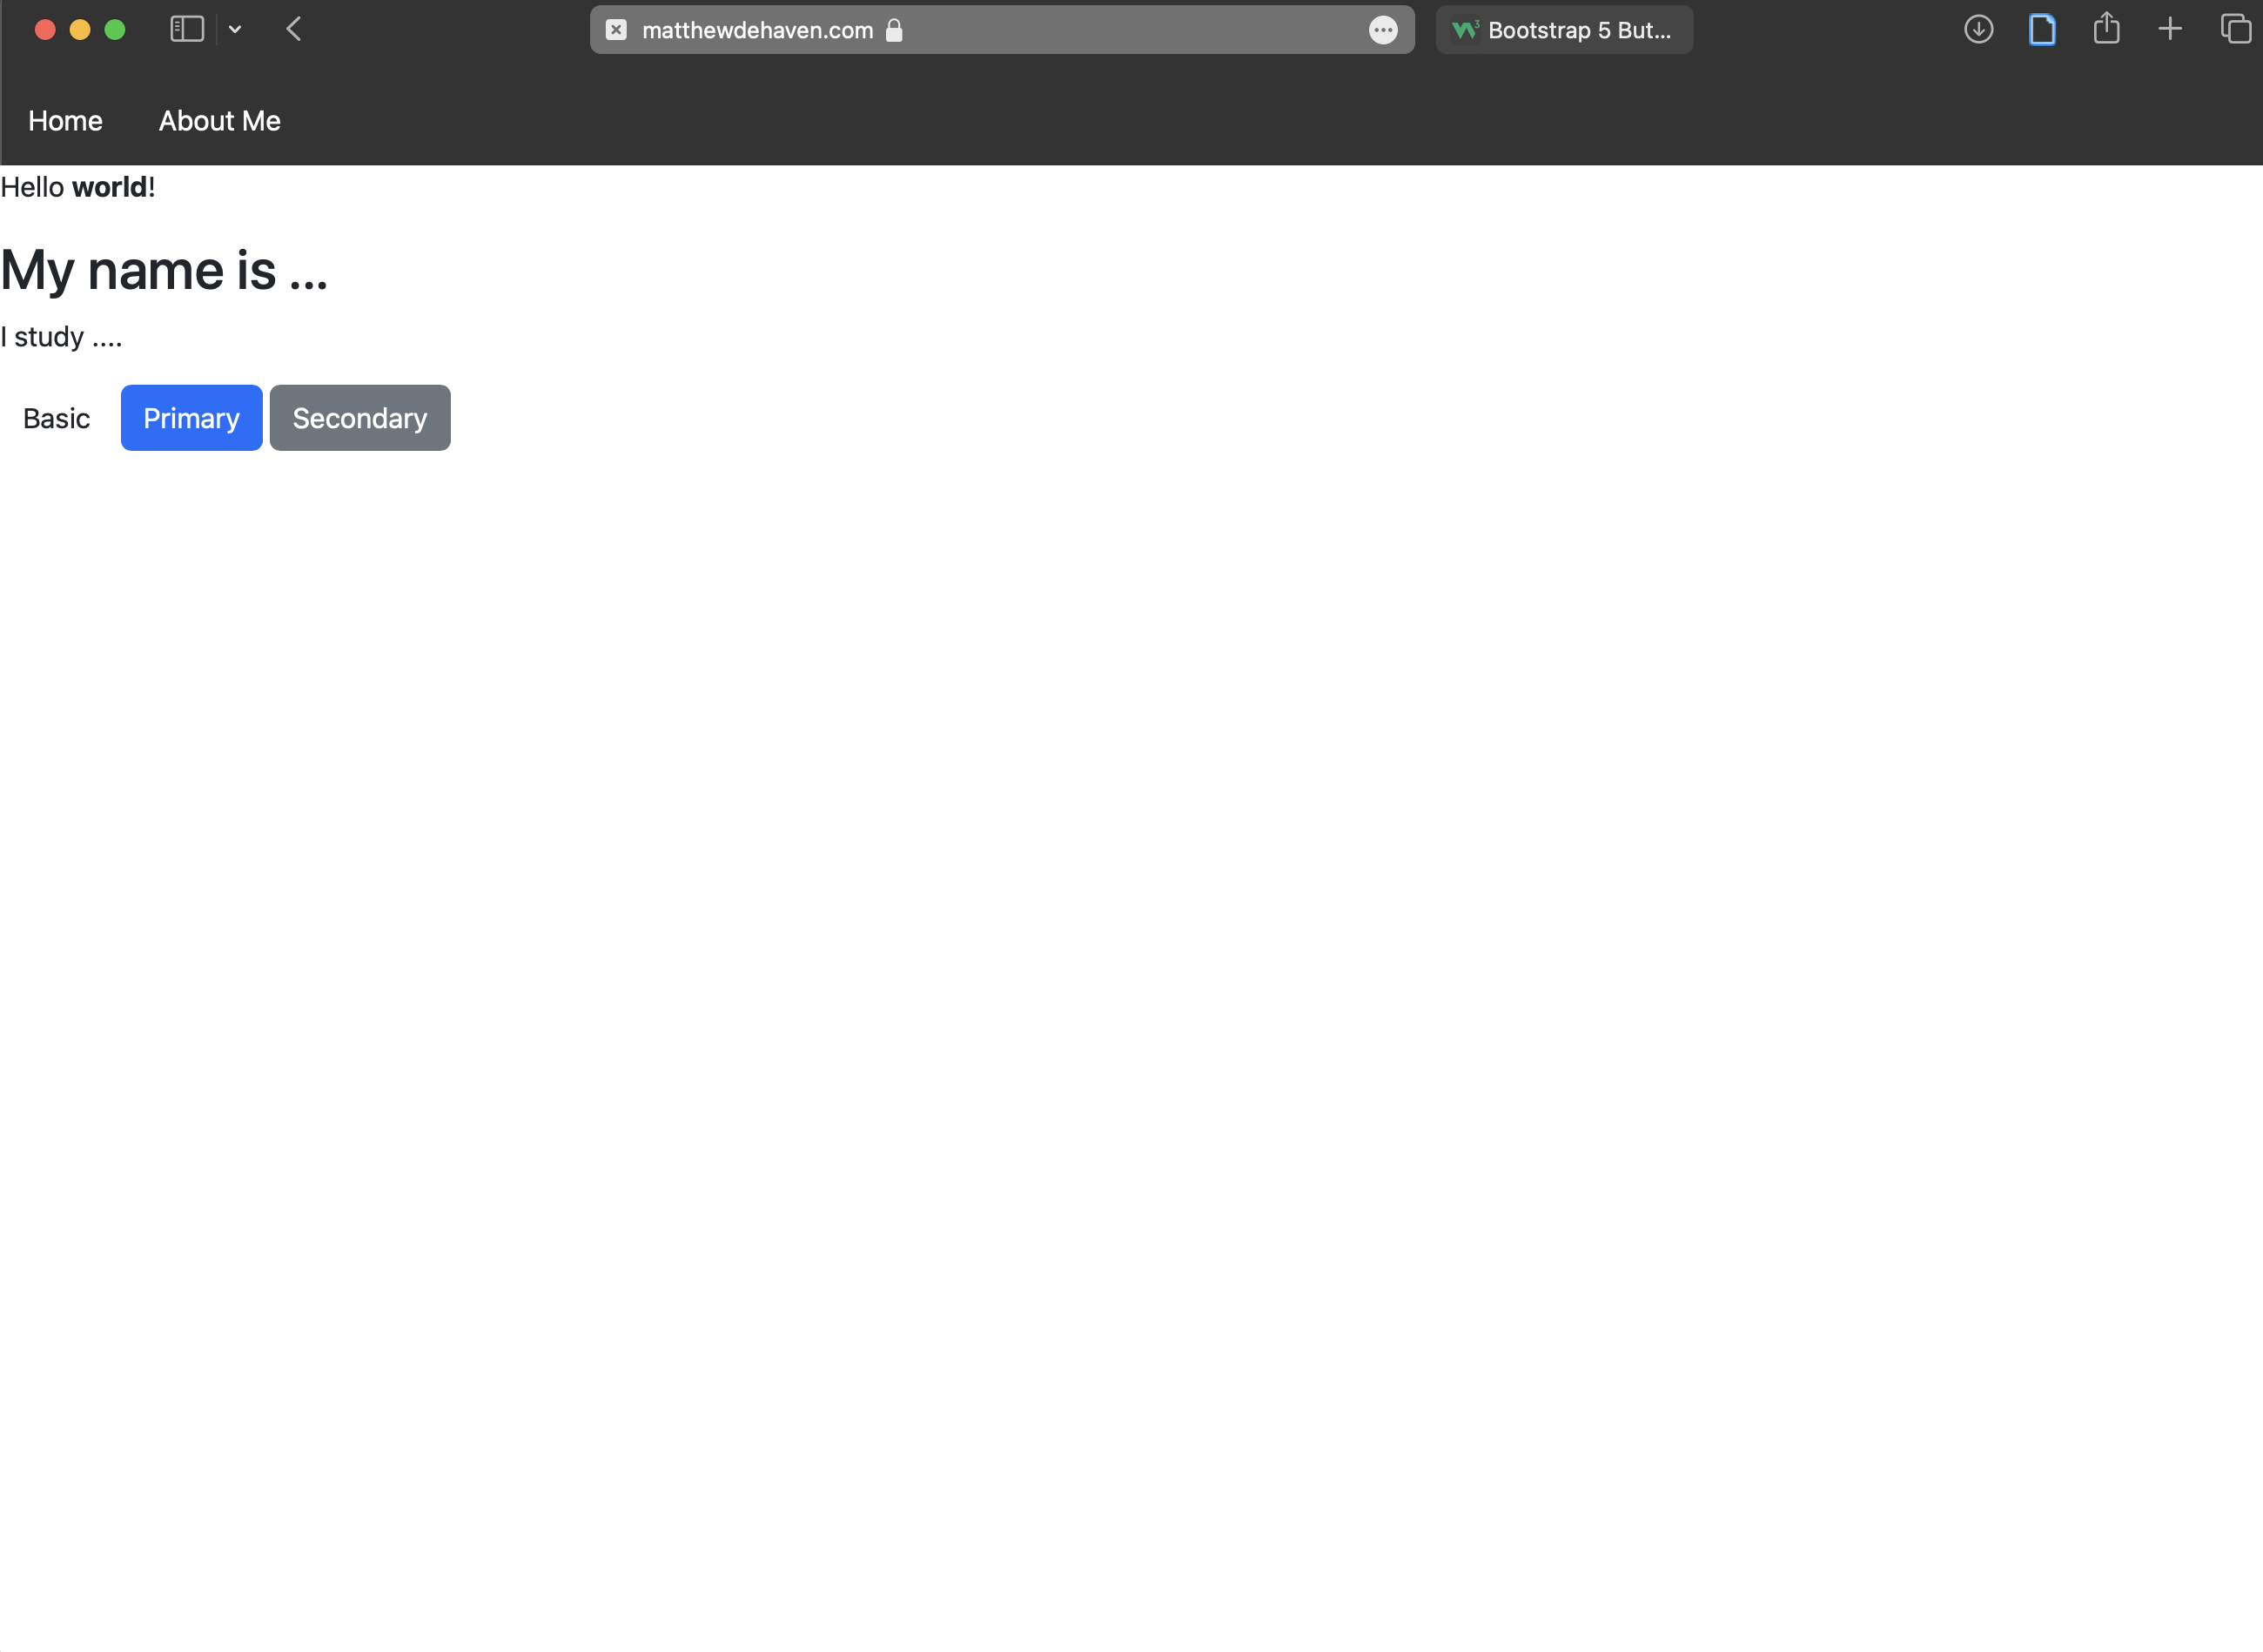
<script src="https://cdn.jsdelivr.net/npm/bootstrap@5.3.3/dist/js/bootstrap.bundle.min.js"></script>- Add some buttons to the body of “index.html”:
index.html
<button type="button" class="btn">Basic</button>
<button type="button" class="btn btn-primary">Primary</button>
<button type="button" class="btn btn-secondary">Secondary</button>
You should end up with a website that looks like this:
No Jekyll
- We should add one more file to the repository:
.nojekyll
The file is completely empty and is named “.nojekyll”. This tells GitHub Pages to not run Jekyll on our website files, which it does by default. Jekyll is used to build a website from markdown and other documents into HTML, but we don’t need that, so it’s just making the Action take longer to host the site and may actually mess things up for a more complicated site.