New Github Repo and VS Code
1 Create A New Repository on Github
Open github.com and log into your account.
Click on the green “New” button.
You will see the following screen for creating a new repository.
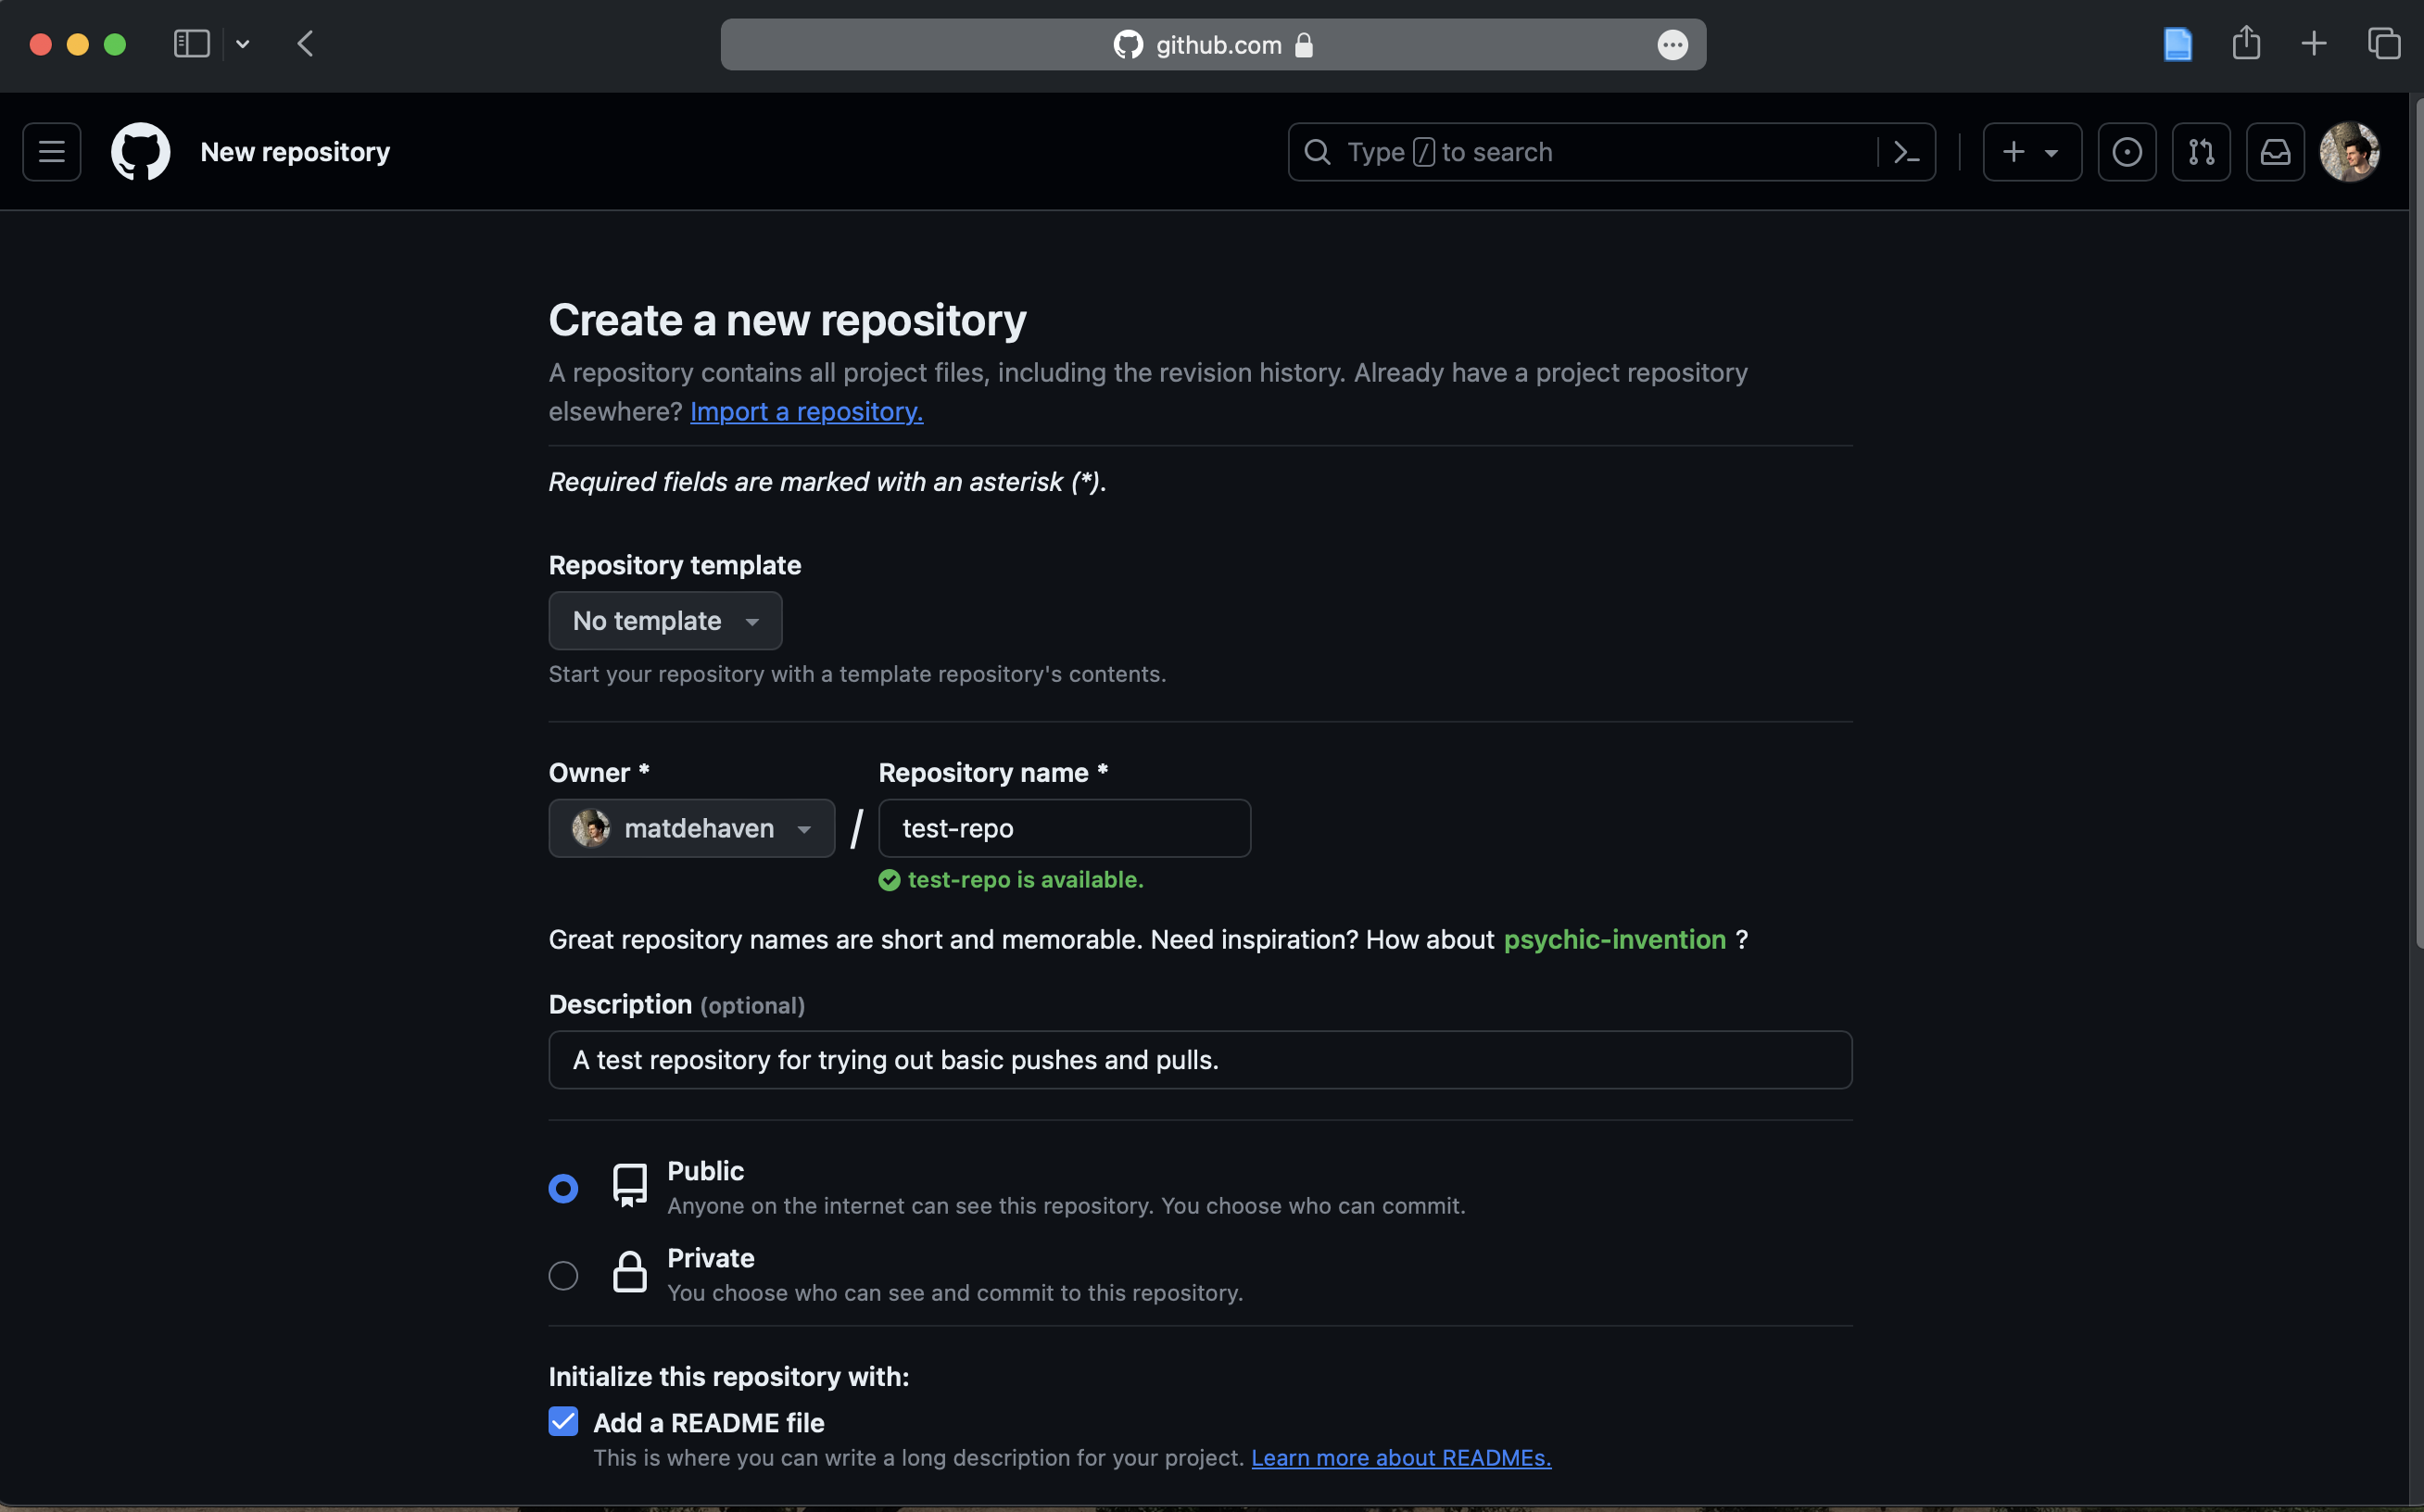
Call the repository something like “test-repo”.
Write some short description for the repo.
Public repositories can be viewed, copied, and downloaded by anyone.
Private repositories can only be seen by yourself and any you give explicit access to (i.e. collaborators / coauthurs).
Select the “Add a README file” option.
Scroll down and select the default “.gitignore” template file for “R”.
Hit the “Create repository” button.
Your New Repository
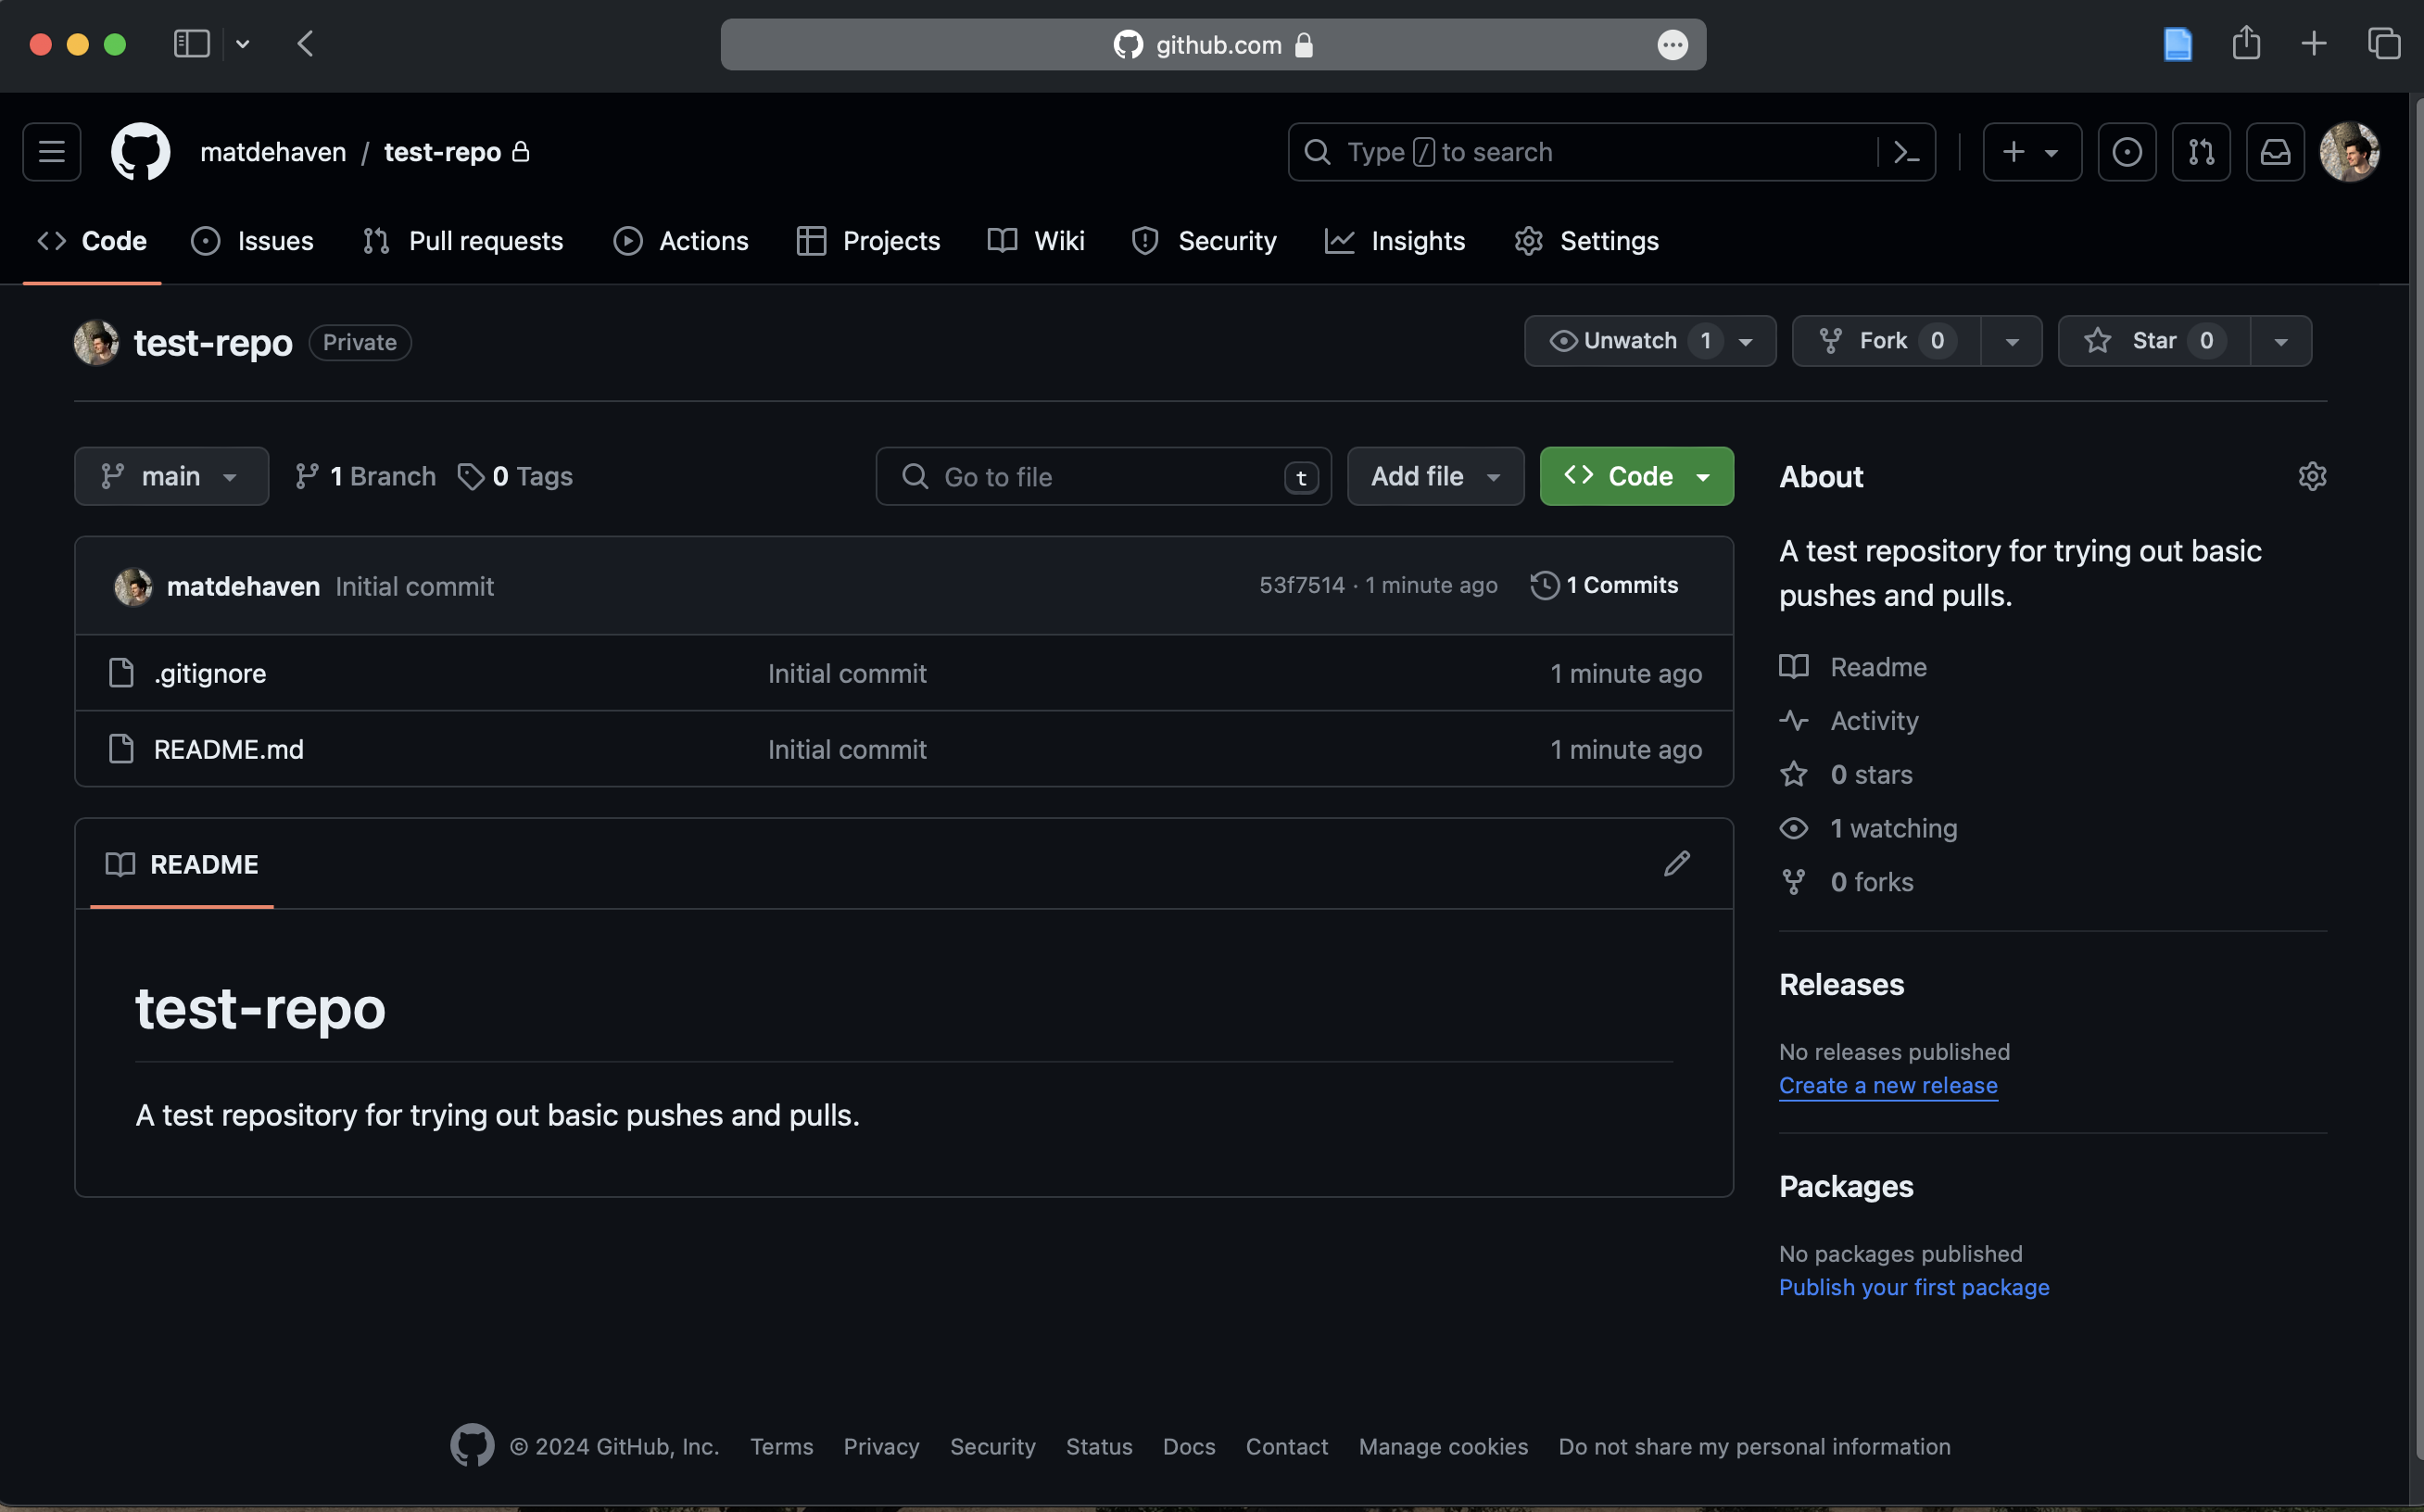
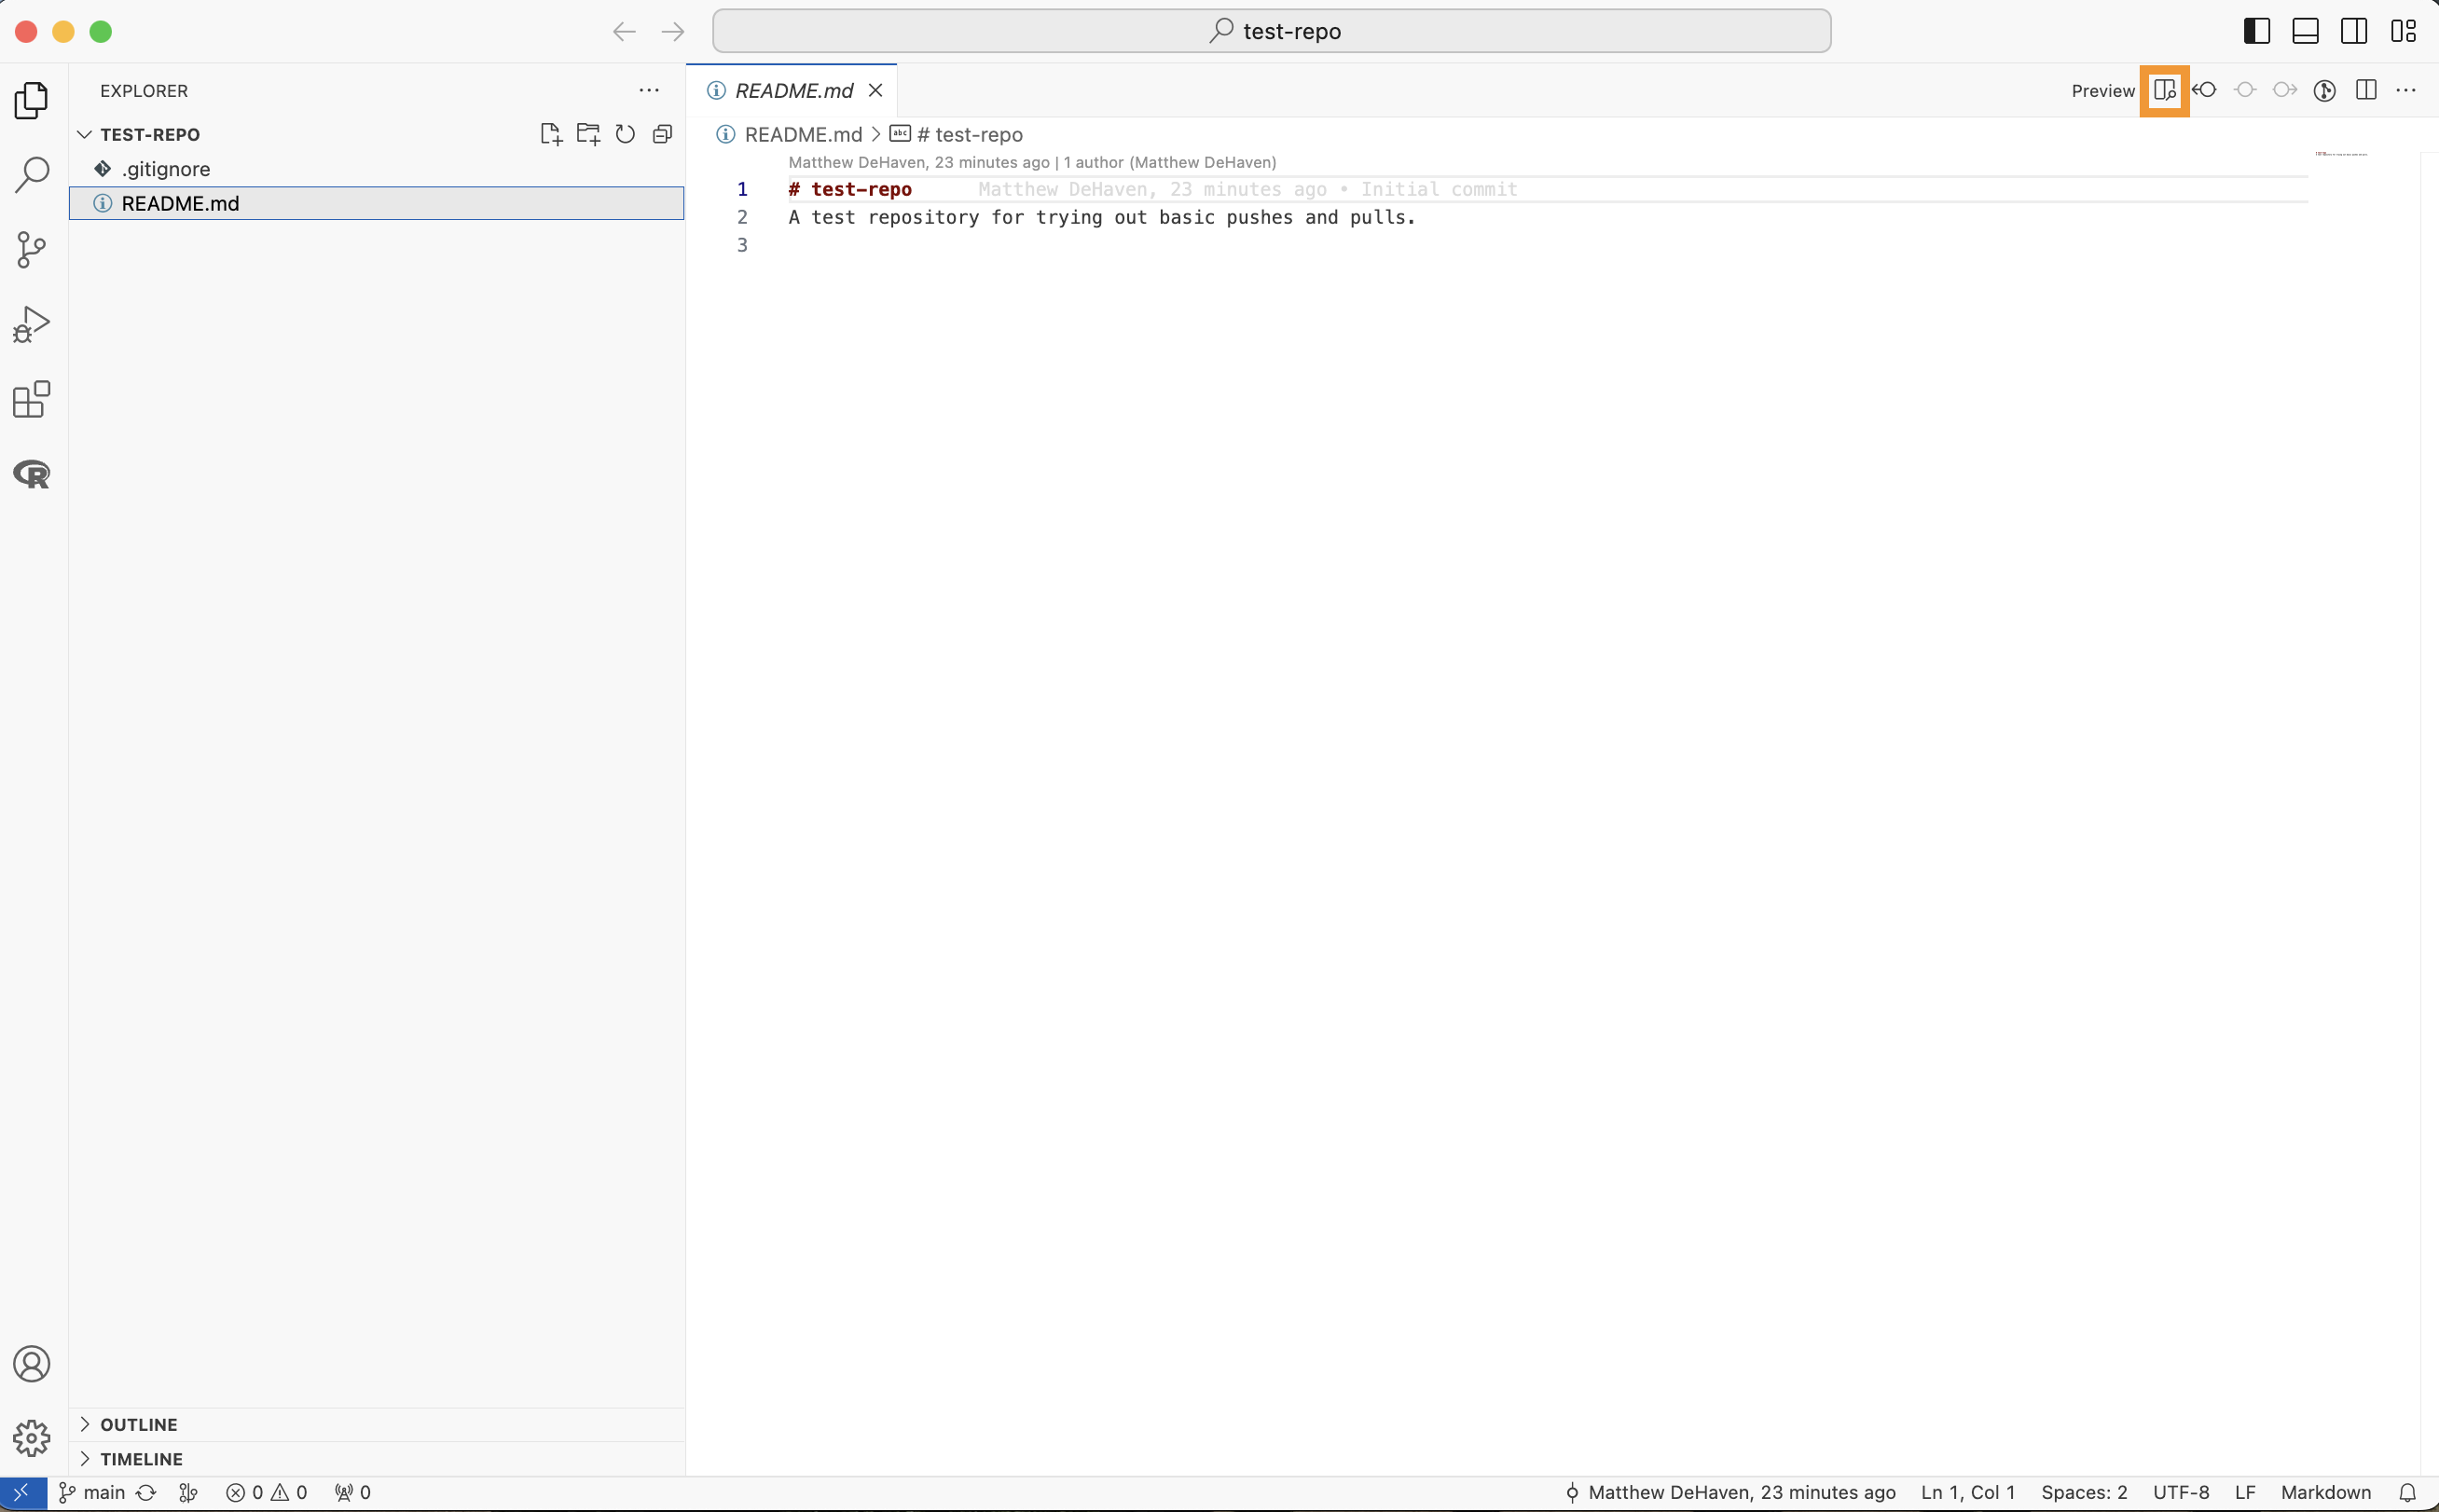
Notice there are two files in your repository: (1) a “.gitignore” and (2) a “README.md”
The README file is rendered on the screen with the repository name “test-repo” and the description you wrote.
2 Clone the Repository
Copy the “HTTPS” link for the repository. 1
1 Click “<> Code”, then “Local” tab, then “HTTPS”, then copy the url.

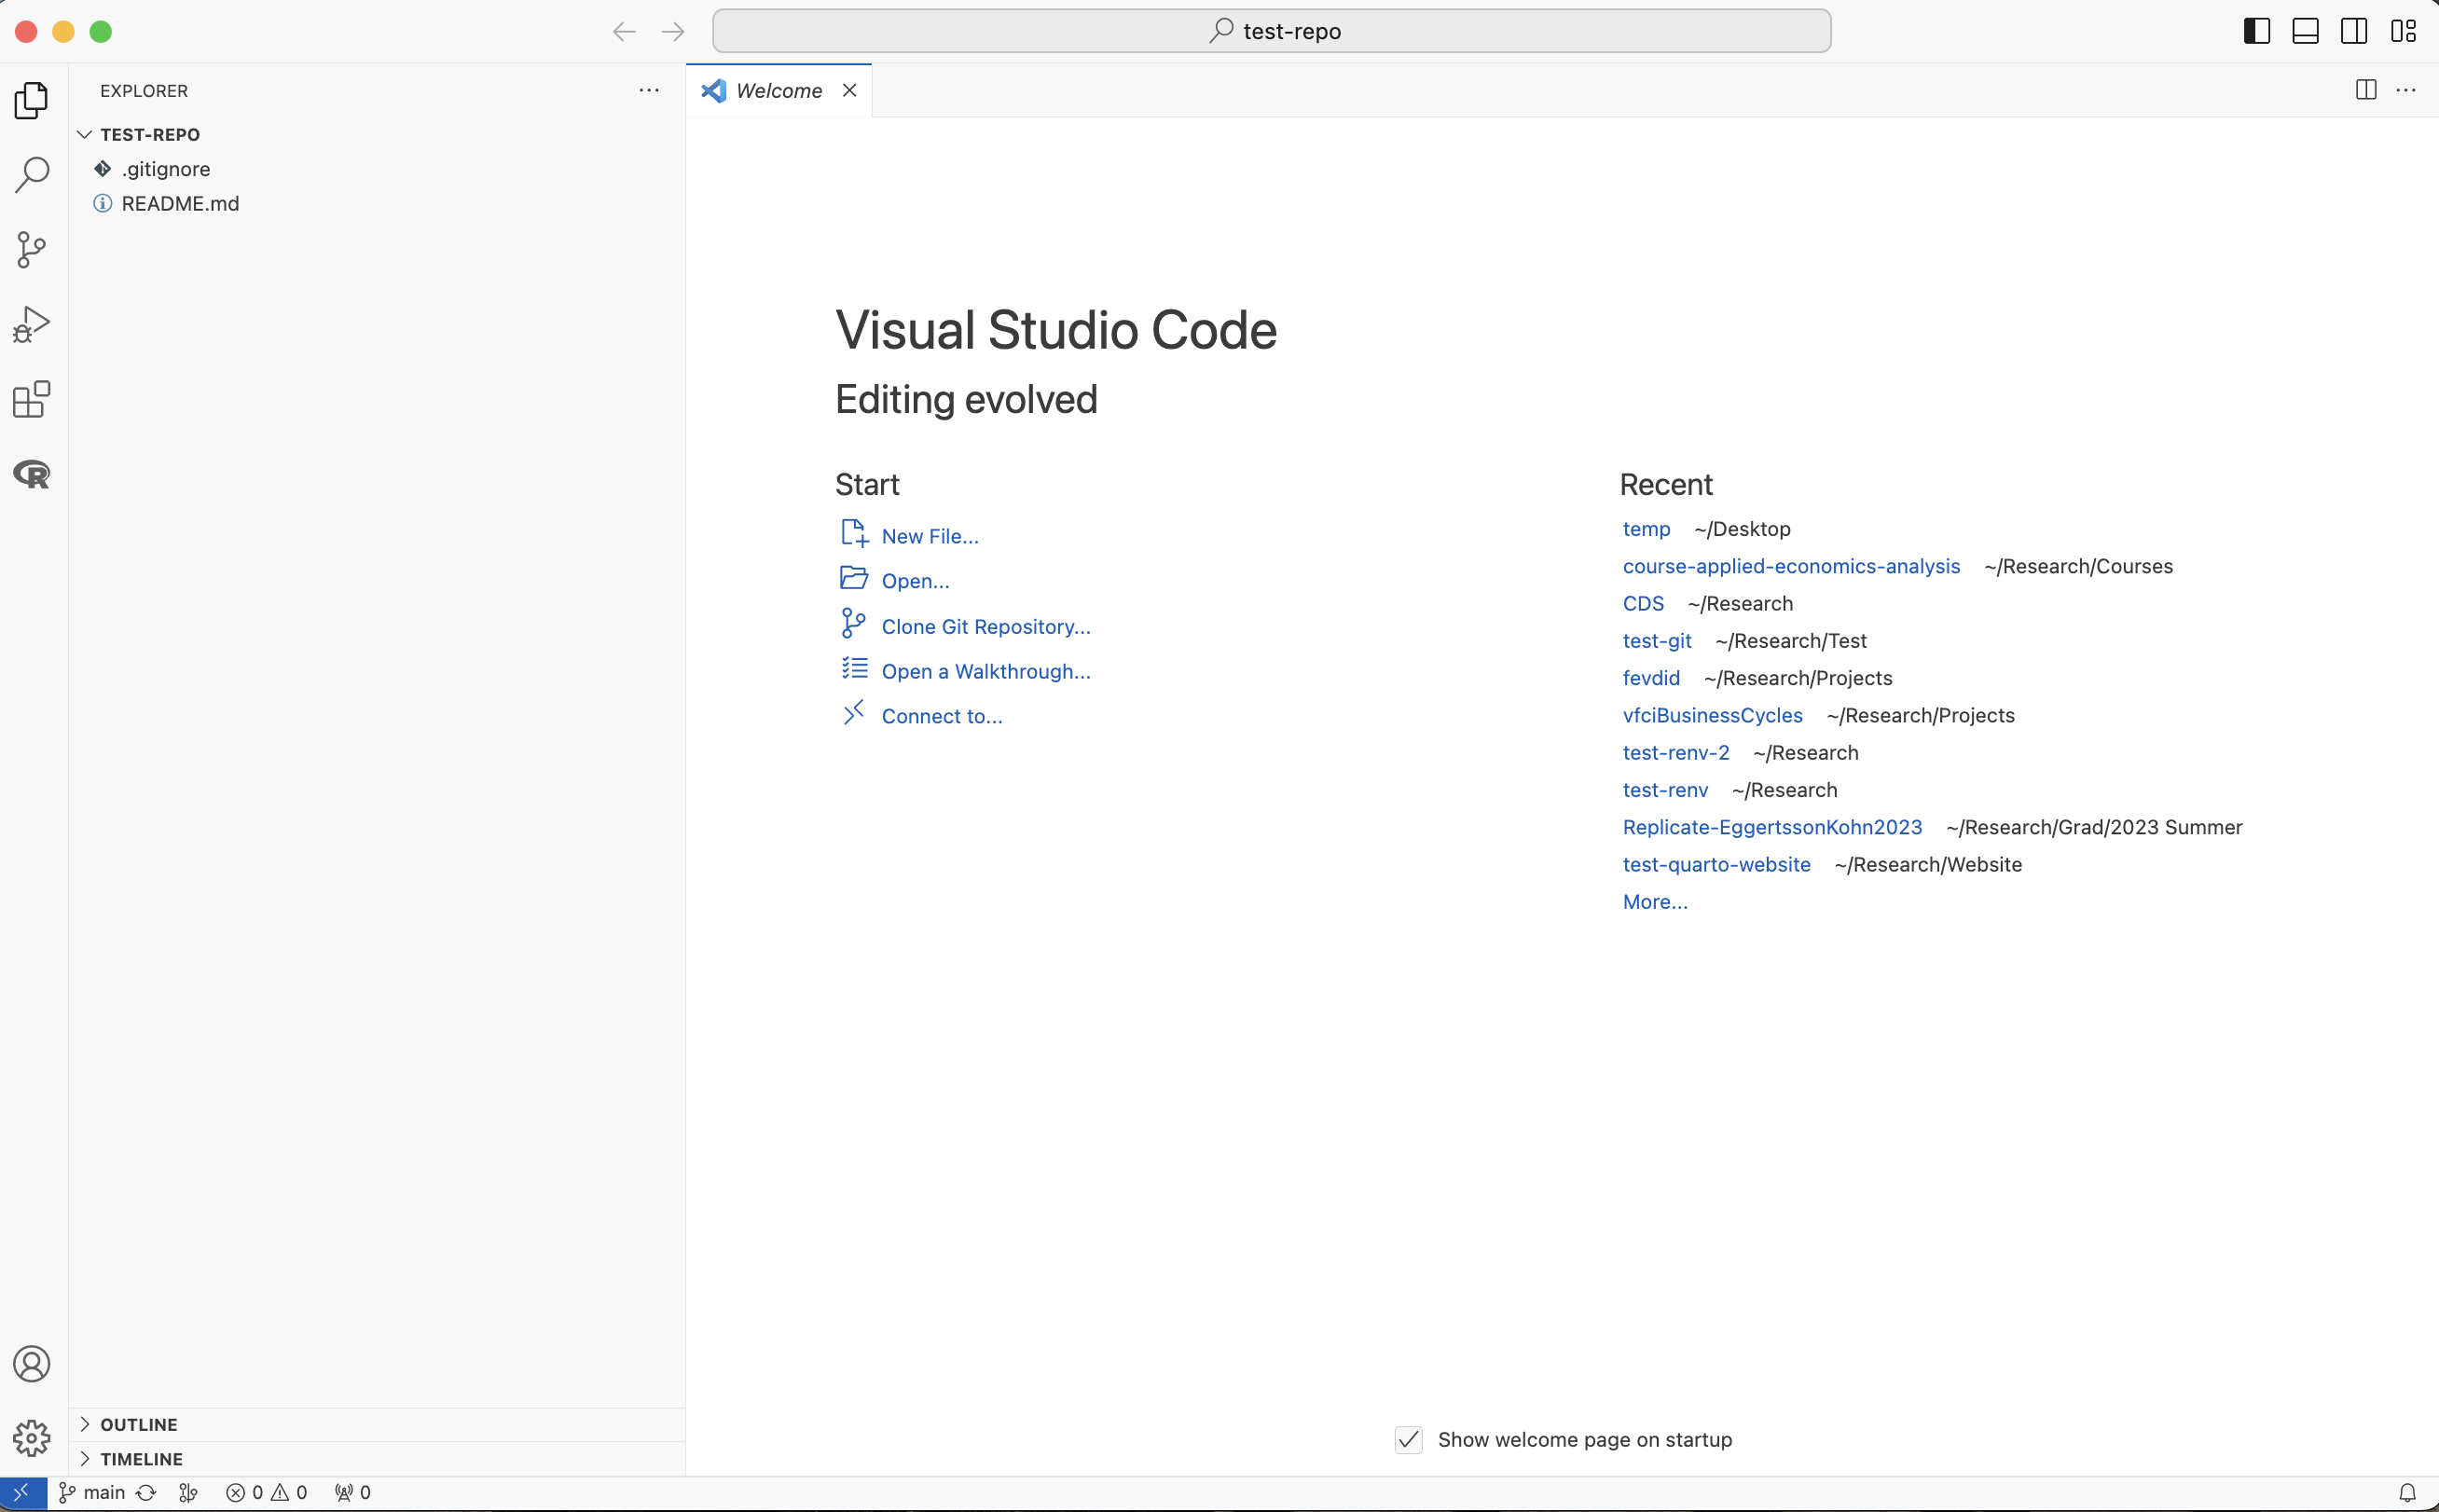
Open a new VS Code window.
Click “Clone Git Repository…” and enter the url. Choose a location on your computer for the repository. 2
2 You will probably see a window about “Trusting” this folder. This is security feature for VS Code that controls the permissions of code within the folder. You should “Trust” all of your own code, and consider not trusting other people’s code.
3 Edit the Readme File Locally
Open up the README document and click on the “Open Preview to the Side” button.
This lets you preview the renderd state of any markdown file. VS Code will render things slightly differently than Github, but they will be very similar.
Go ahead and edit the README file on the left hand side, notice that you get real-time updates in the preview.
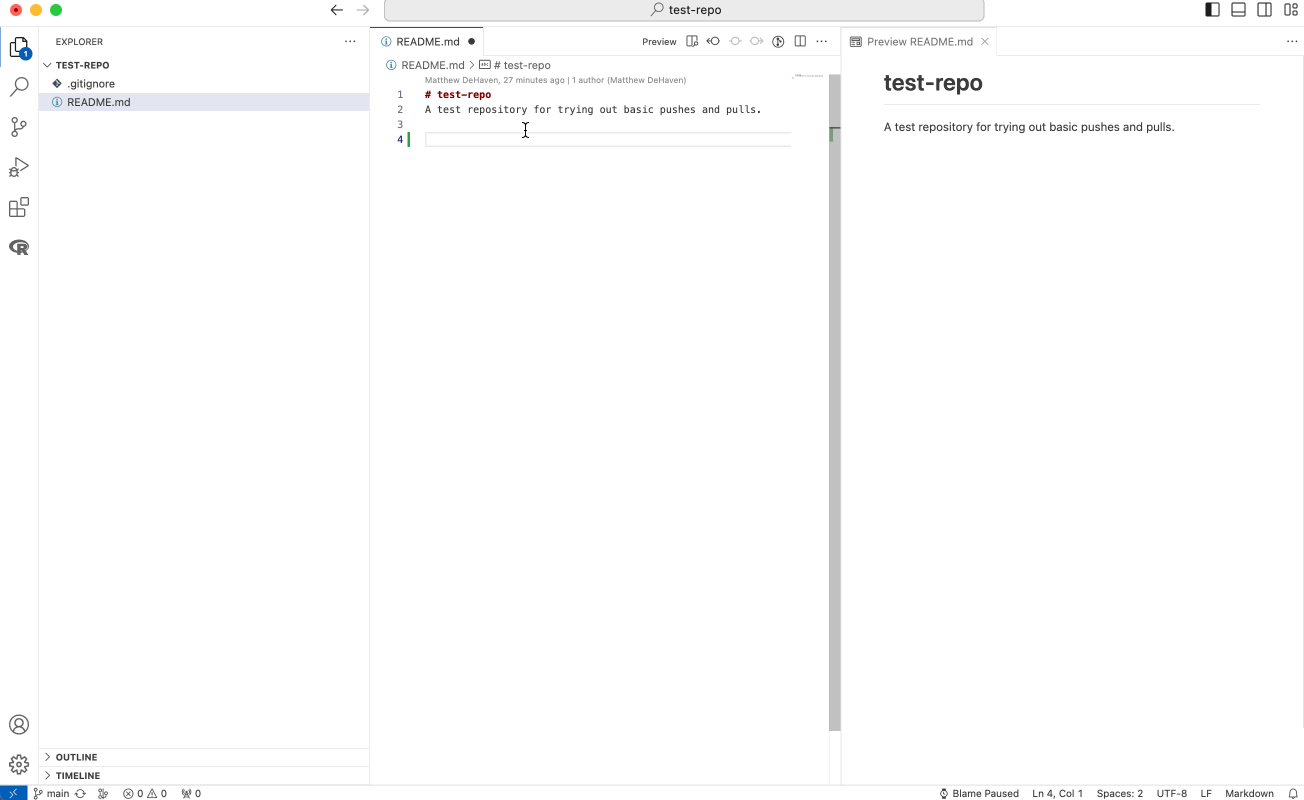
Save your changes.
Commit the Changes and Push to Github
Once you save your changes you should have a (1) notification on the “Source Control” tab in the activity bar.
Go to source control, stage your README file, commit it with a message, and “Sync Changes” to Github.

Now head back to your Github repository in your browser, refresh the page, see the Readme changes.
4 Edit the Readme from Github
You can also edit files directly from Github through your browser.
In general, I would not do this, as it is a good way to get your repo out of sync with the local copy.
But it can be convenient for tweaking the README file in particular.
Click on the “README.md” file, then the pencil icon for “Edit”.
Make your edits, and then hit “Commit Changes”.
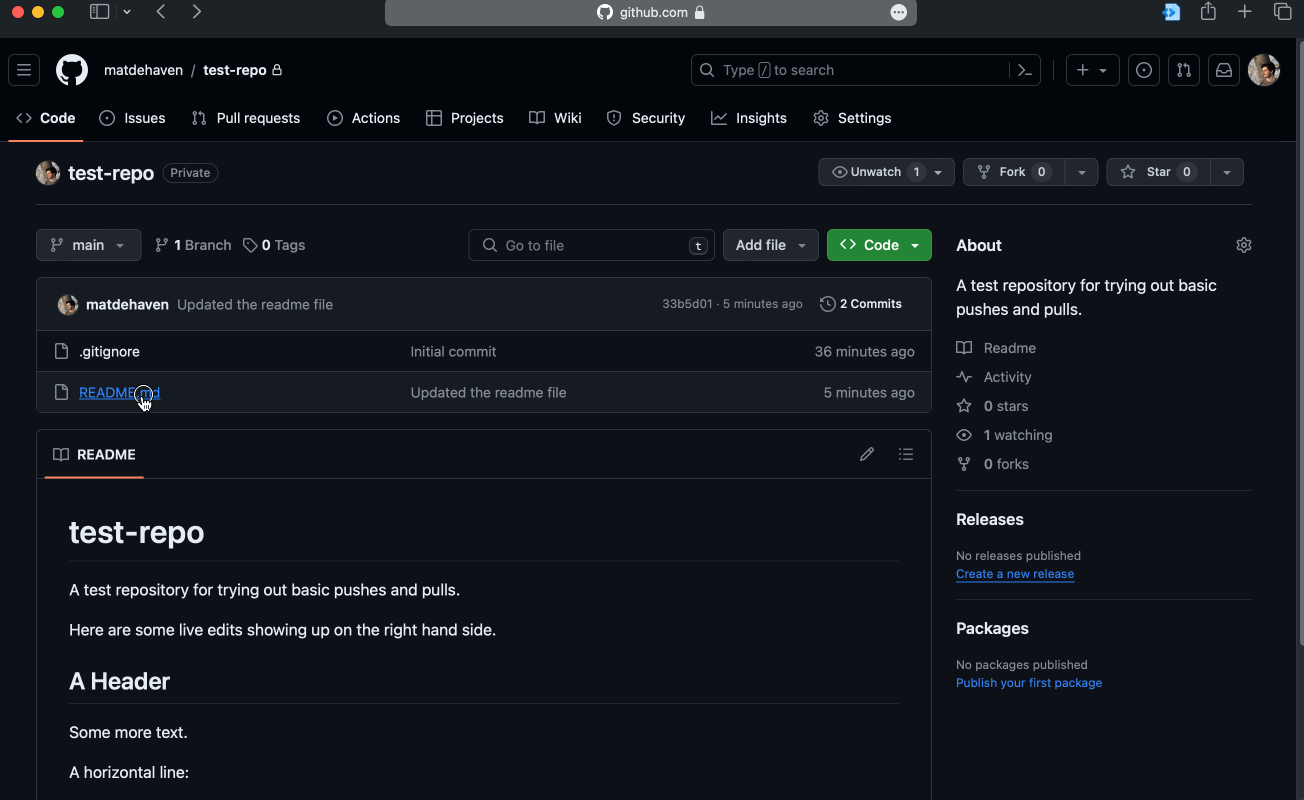
Go back to the home page for this repository, notice the README changes.
Pull those Changes
Go back to your VS Code clone of this repository.
Remember, you made those changes online, so they are not reflected in your local README file.
Under the “Source Control” activity bar tab, you see a “Sync Changes” with a down arrow, this shows that the online Github repository is further ahead (has more commits) than your local one. 3
3 Click the “Refresh” circular arrow if you do not see this.
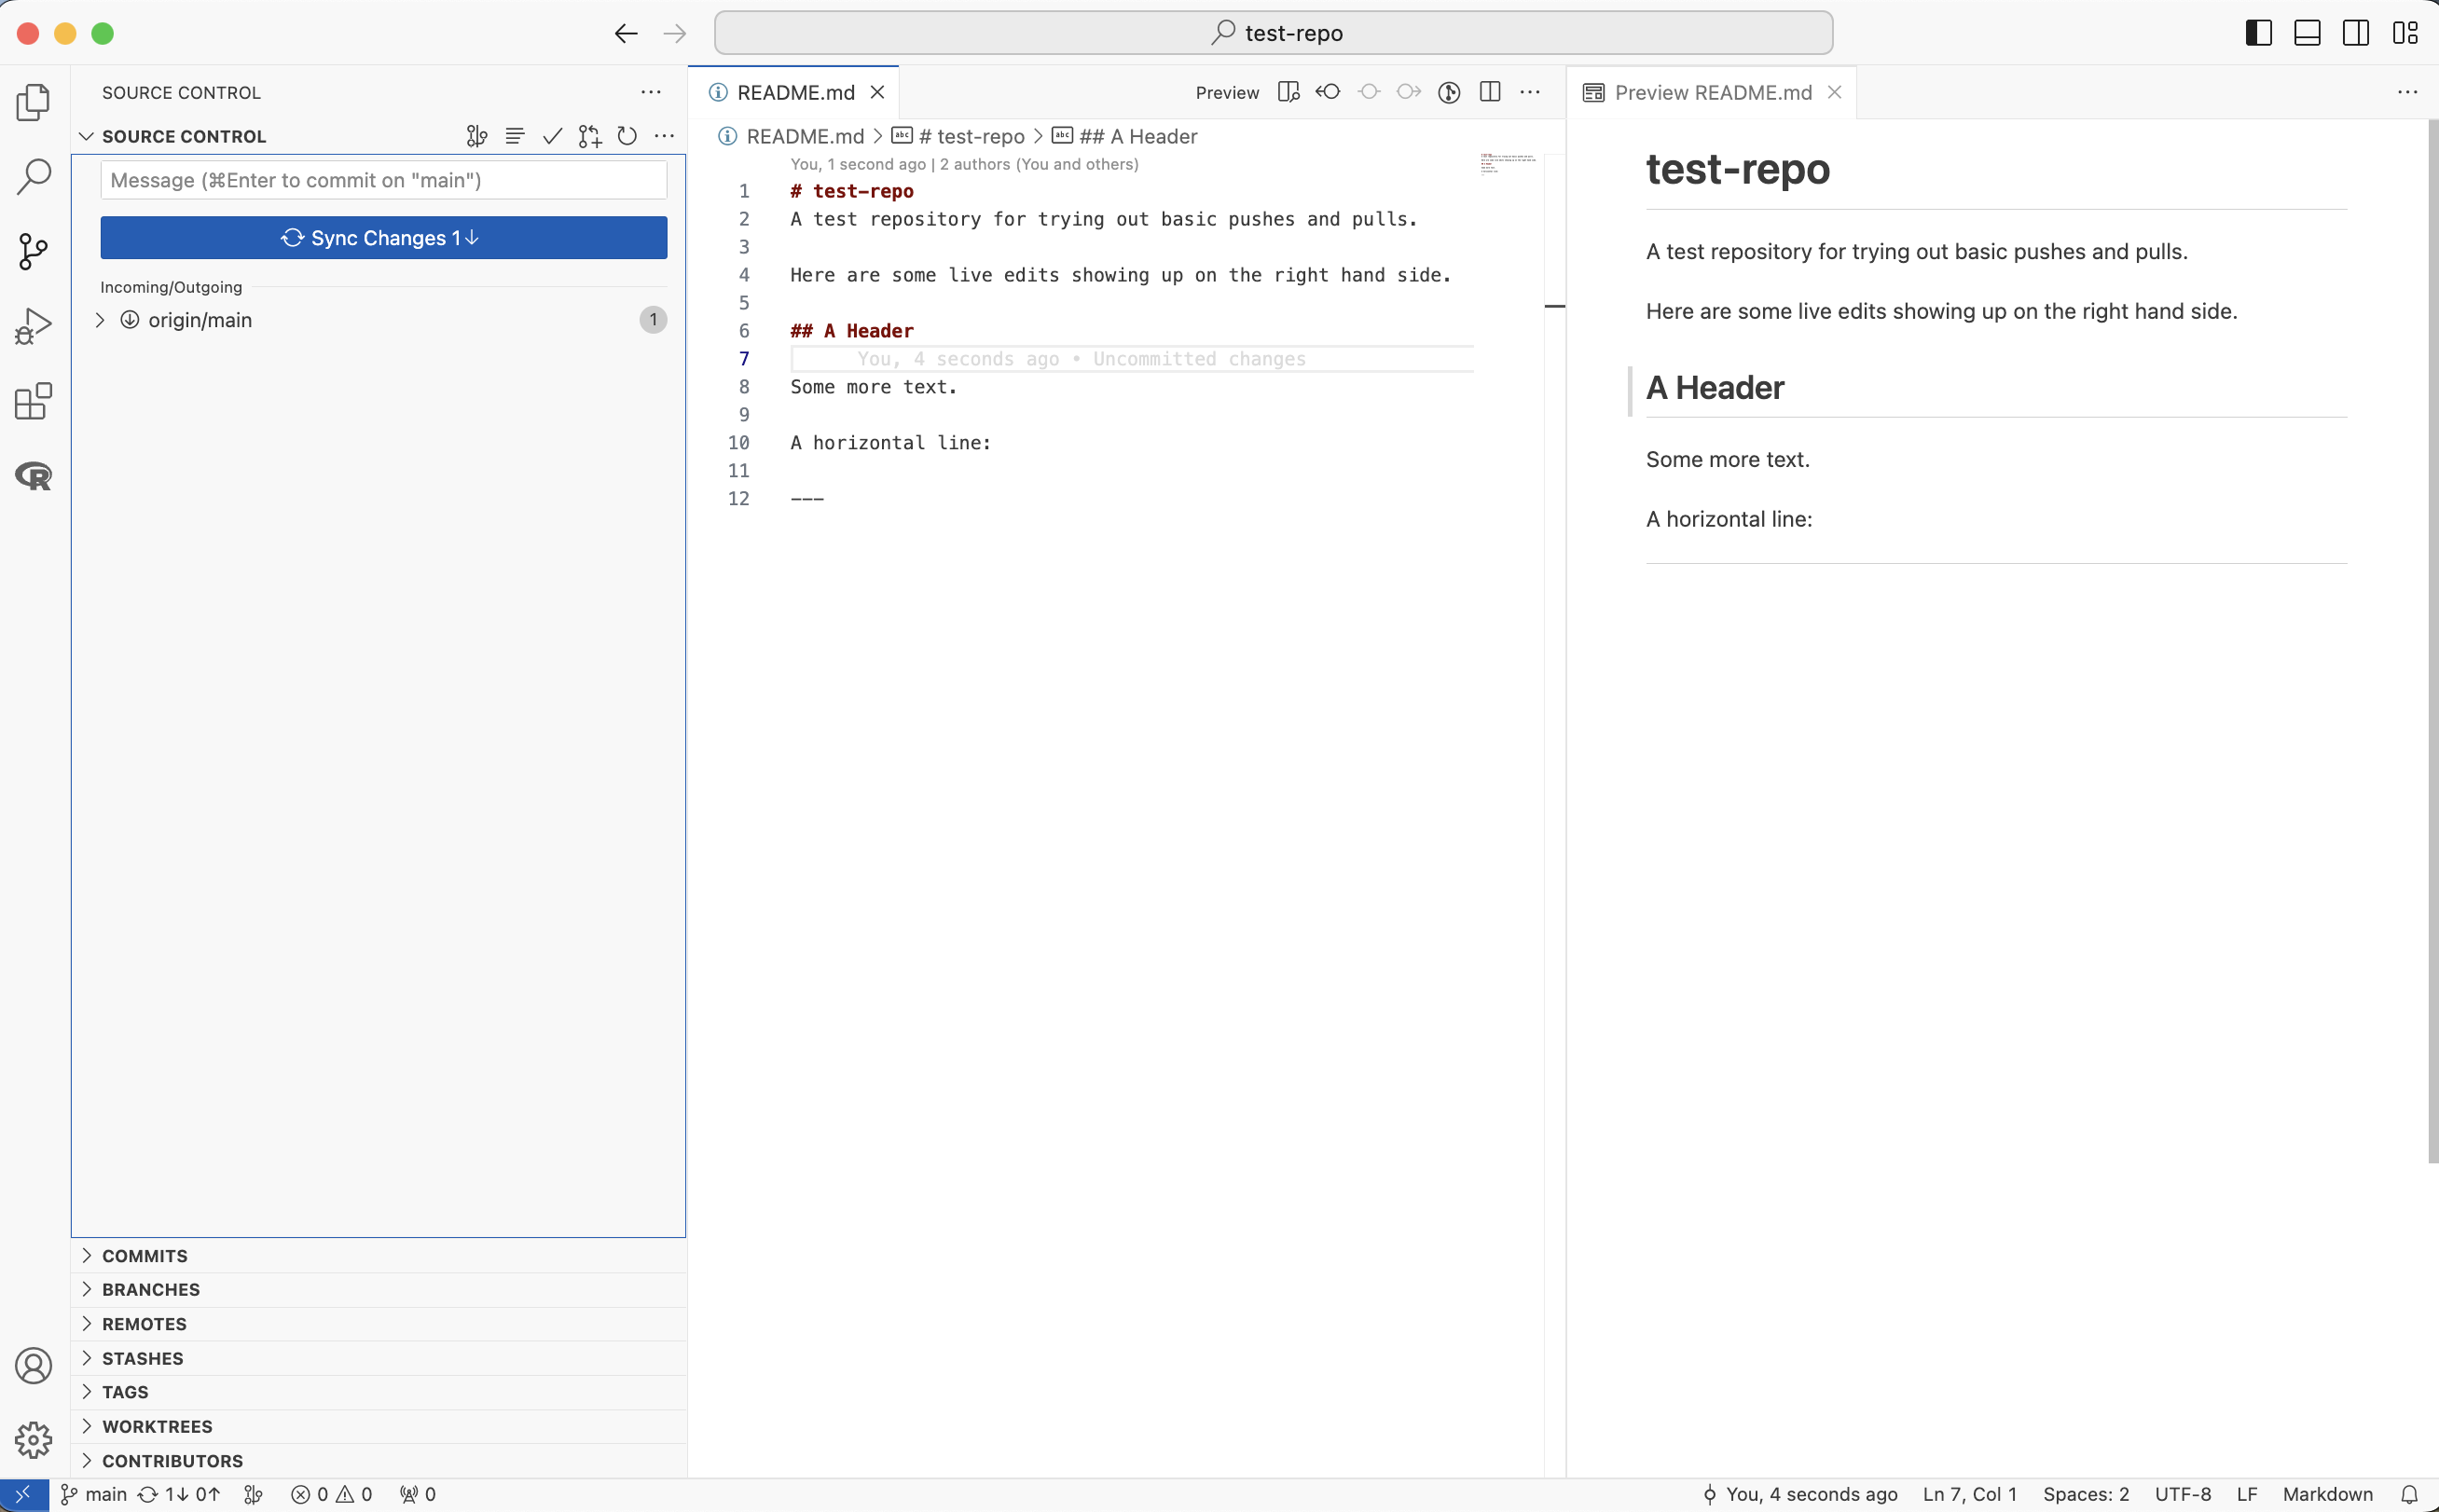
Go ahead and click “Sync Changes”. Notice that the the readme file now updates with the changes we made online.
5 Wrap Up
When you are the only one working on a repository you will mostly just “push” changes. But once you start working with others, it becomes important to check if there are changes to be “pulled” like you just did.
You can go ahead and delete this repository on your Github account and locally, if you wish.