Assignment 7: Tests and Github Actions
1 Accept Assignment on Github Classroom
Clone this assignment to your computer.
2 Run the Project
I have setup a basic project.
It grabs the “gapminder” data from the gapminder package, runs a linear regression, and makes a table and a plot.
Launch an R terminal and make sure
renvis restoredRun the code in “main.r”
You should notice that you get a new figure, becuase it randomly samples 10 countries to plot. There is also now a data file in the “output/data/” folder and a model file in the “output/models” folder.
Take a minute to look over the code and folder structure so you know what is going on.
3 Adding Unit Tests
There already exists one unit test in the “tests/” folder called “test-example.r”. All it does is check if basic multiplication works.
You should add unit tests for the following three things:
- Is the estimated coefficient for “gdpPercap” in the linear regression model equal to
0.00076?
- Use a reasonable tolerance for this check.
- Is the number of observations in our model equal to
1704? - Data validation
- Do “year” and “country” create a unique ID for the data?
- Do observations for “gdpPercap” fall between
0and1e6? - Are the values for “continent” are
c("Asia", "Europe", "Africa", "Americas", "Oceania")?
For the third unit test, you should install and use the testdat package. Make sure to call renv::snapshot() after you use it, so that it is recoreded in your renv lockfile.
Make sure to run your new unit tests. Do they all work? Fix them if they do not.
Run
testthat::test_dir("tests")to make sure the new unit tests passPush your new tests to the Github repository
4 Adding Github Actions
Go to your Github respository in the browser.
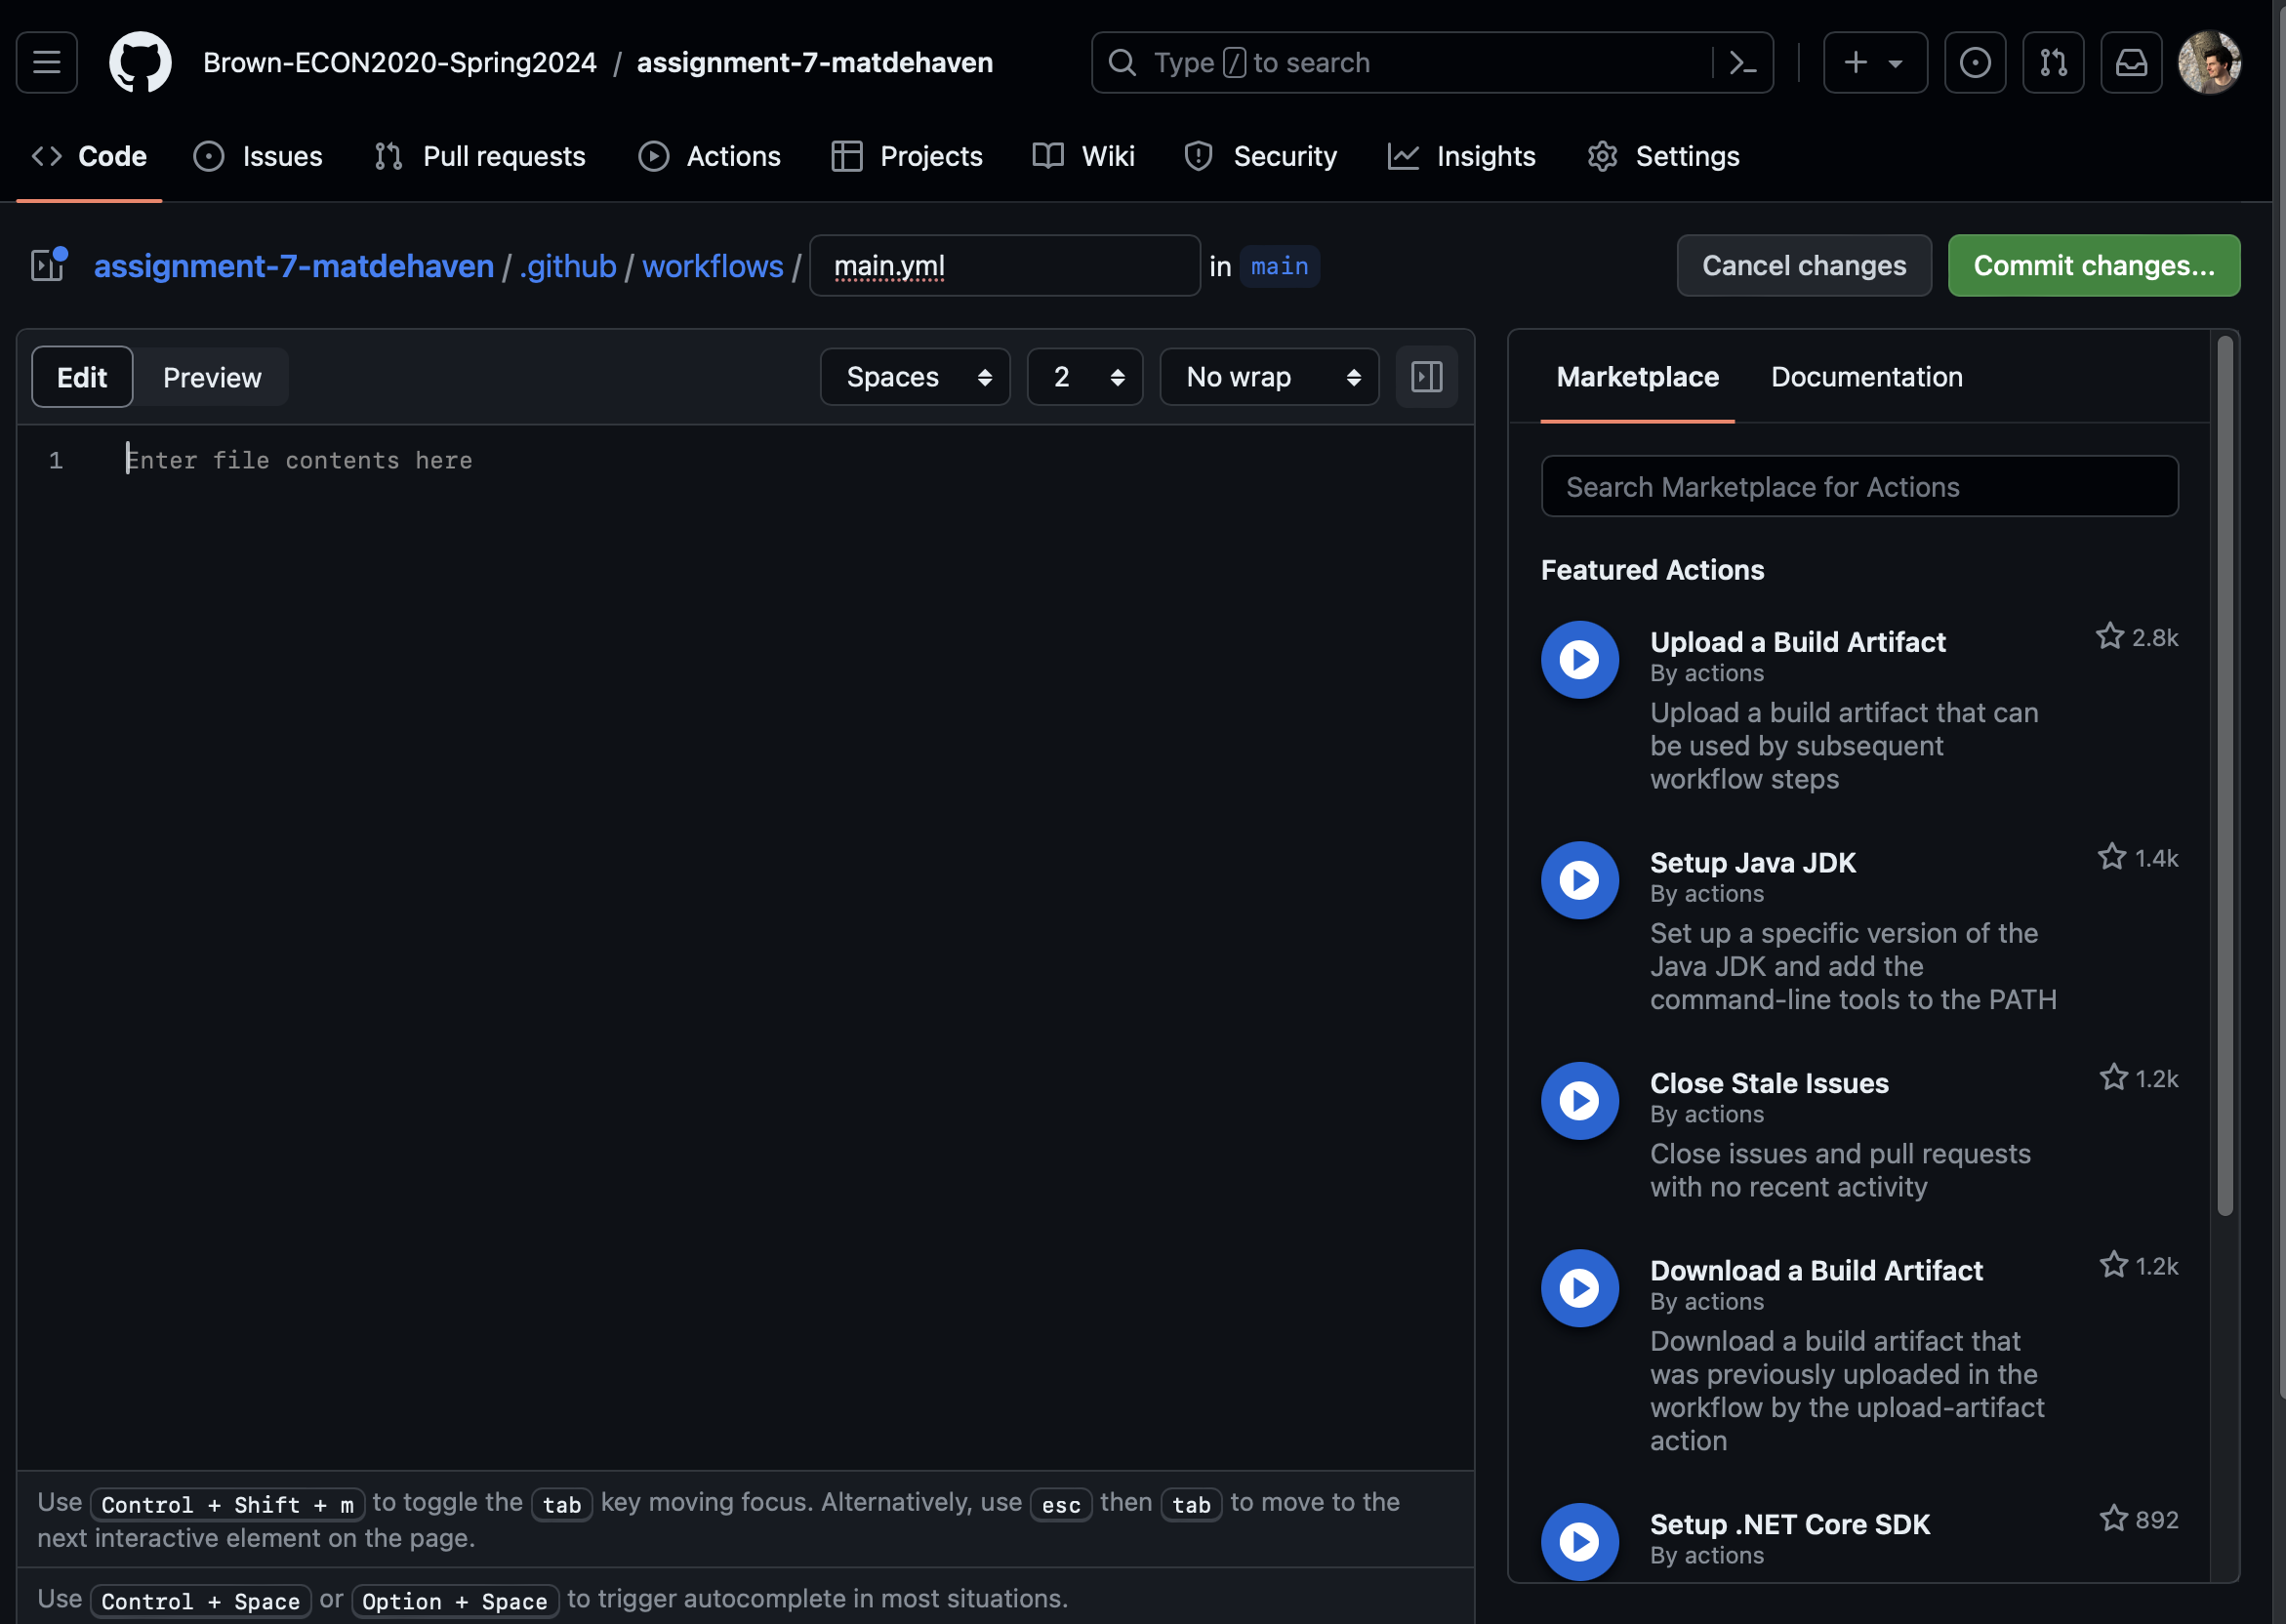
- Click on “Actions” at the top menu bar, then click on “set up a workflow yourself”
This will open a text editor window like below:

- Copy the github action below into the editor and hit “Commit Changes”
# Workflow derived from https://github.com/r-lib/actions/tree/v2/examples
# Need help debugging build failures? Start at https://github.com/r-lib/actions#where-to-find-help
on: [push]
name: Run Main.r

jobs:
  RunMain:
    runs-on: ubuntu-latest
    steps:
      - uses: actions/checkout@v4

      - uses: r-lib/actions/setup-r@v2

      - uses: r-lib/actions/setup-renv@v2

      - name: Run main.r
        run: |
Rscript main.r- Now go to the “Actions” tab for this repository on Github
You should see a list of “All Workflows” and one item either “In progress” or “Queued” to Run Main.r.
You can click on the workflow in progress and then click on “RunMain” to see its progress through the steps.
Once it has finished running, you can click on the portion that says “Run main.r” and see the output logs, including that your tests passed.
Breaking Your Tests
Now whenever we push to this Github repository, this action will run.
Go back to your local copy of repository in VS Code and
- Sync (pull) the changes we made on Github
Notice that what was added was just a file in “./github/workflows/main.yml”. This is all Github needs to run an action. We could add more actions just by adding new “something.yml” to the “workflows” folder.
Next, open up one of your unit tests,
- Edit one your your unit tests so that it fails
Test it out locally first to make sure it fails.
- Push your broken unit test change to the Github repository
Now go back to Github and you should be able to see that a Github Action was launched for your latest push. It will take it a few minutes to run. Once it finishes (and fails), check your email linked to your Github account. You should see an email from Github saying that one of your Actions failed.
- Go into the failed Github action and find the “testthat” summary report
Fixing your Broken test
Fix the test you broke in VS Code
Push everything back to Github, and make sure you don’t get an error this time
All done!