Hello Class!
False
Python
Crash course in Python and Jupyter Notebooks
Matthew DeHaven
February 11, 2026
Python Installs
Installing Python
Python comes with many operating systems, but to get the latest version…
You want to always have the latest version, but this leads to many installations of Python on the same computer.
Each of these installations are referred to as “interpreters”.
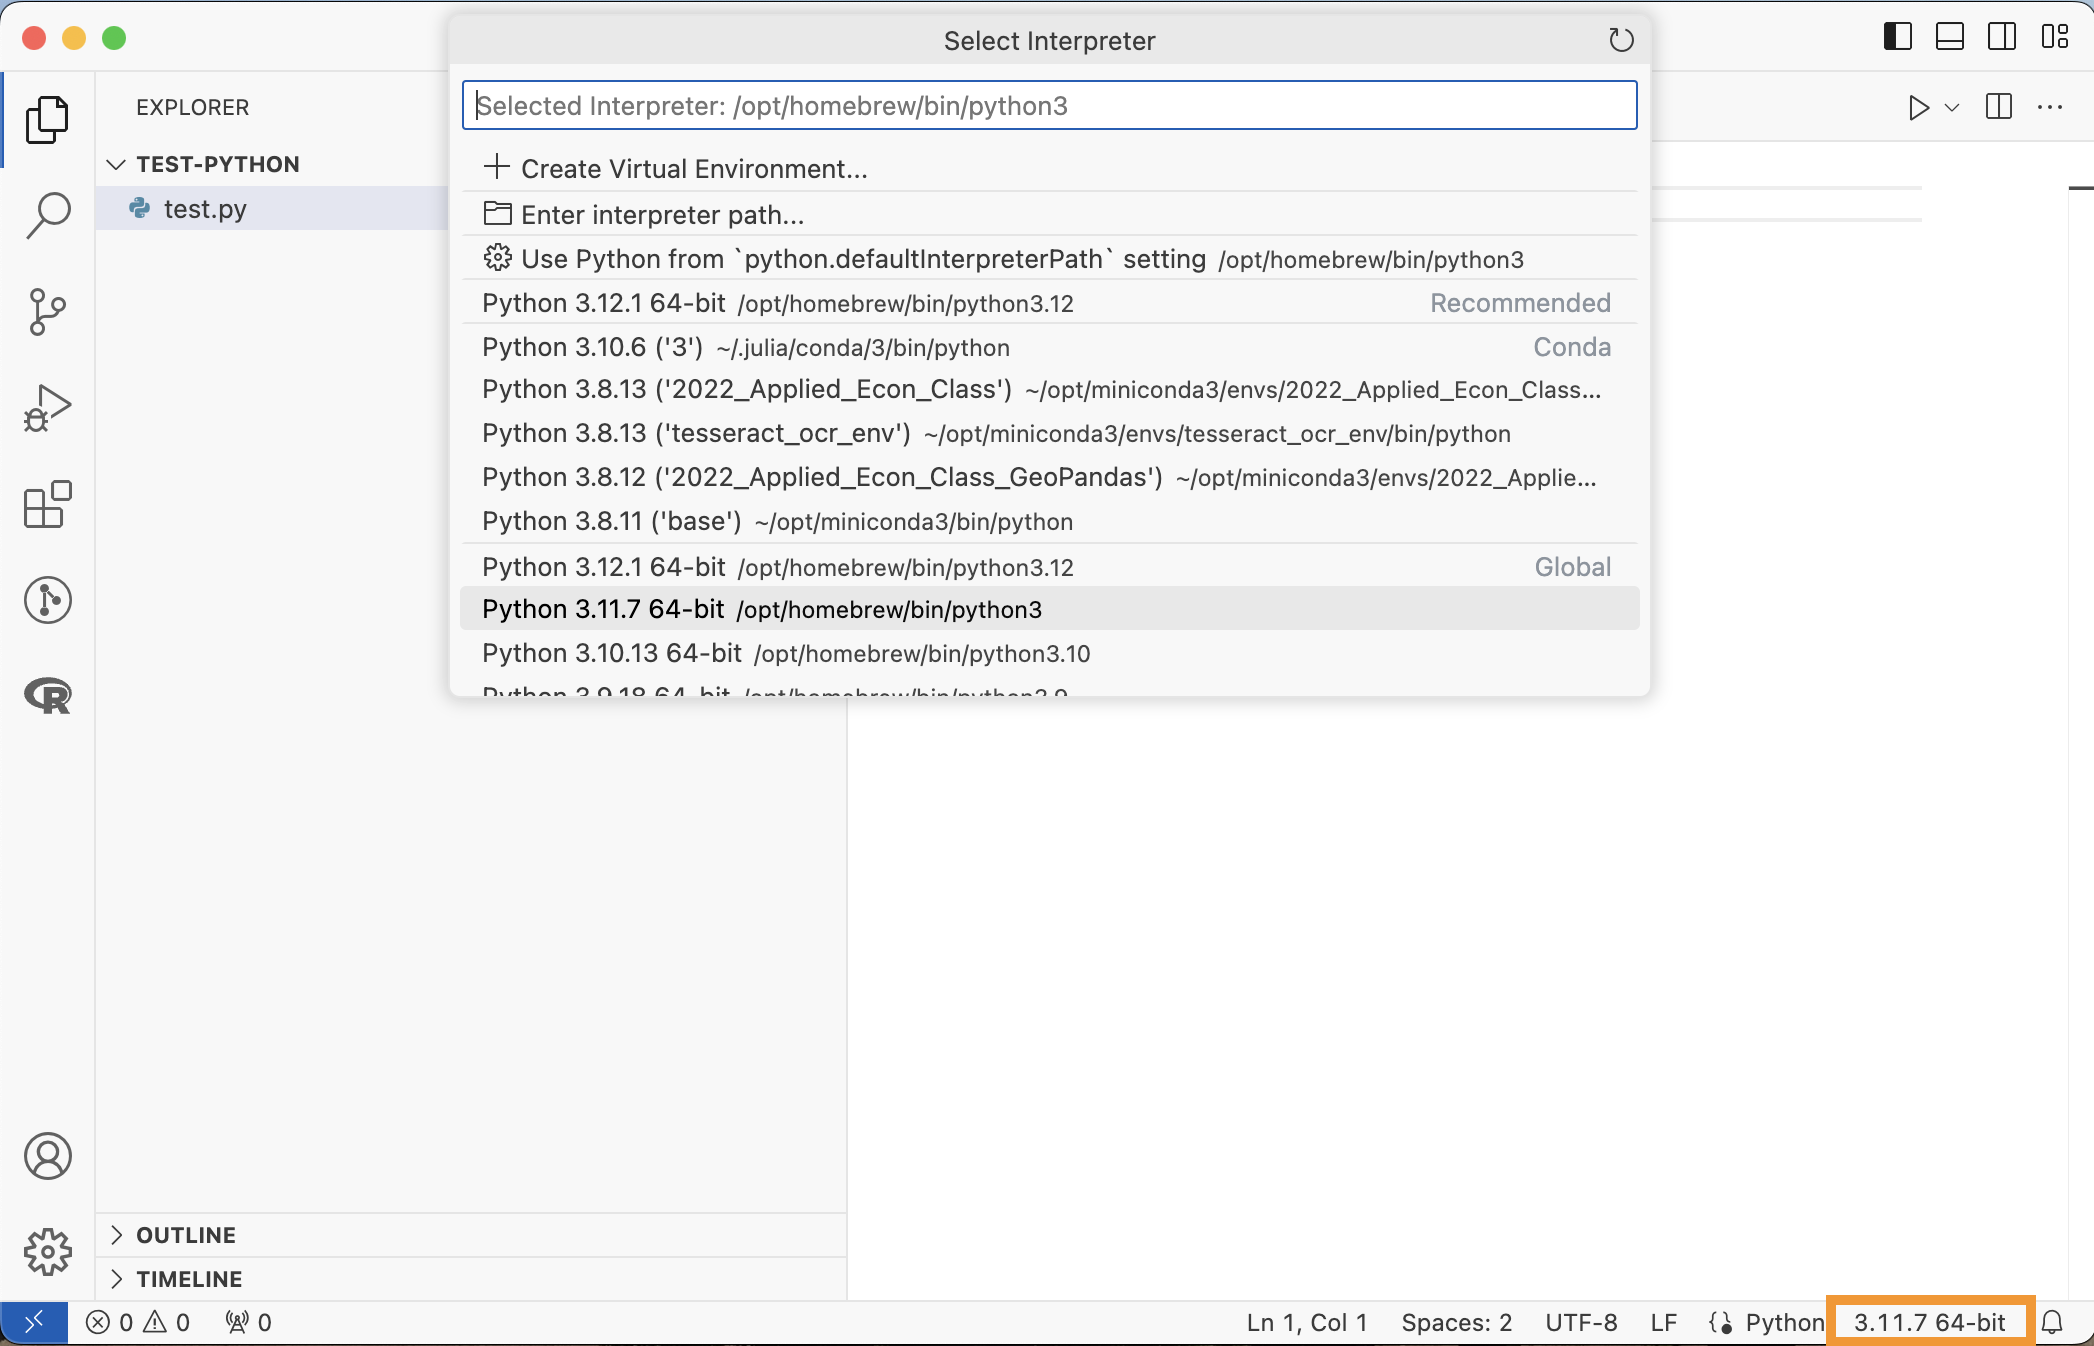
Choosing a Python Interpreter
VS Code allows you to choose a Python Interpreter when editing a “.py” file.
Python2 vs Python3
Python2 is an older version of Python, no longer supported (since Jan. 1, 2020).
- Current version is Python3
Some systems still have Python2 installed as the default “python” command.
- You can check which version you have with
python --versionorpython3 --version - Always use
python3to run Python code from the terminal, to avoid accidentally using Python2
Running Python in VS Code
You can run a whole file of Python code by clicking the play arrow.
Or you can run a single line or selection…
- hitting
Shift+Enter - right clicking the line, then selecting “Run Python”
Both of these will execute the Python code in a terminal.
Hello World Example
Python Environments
Default Python Global Environment
graph TD
    subgraph ProjectC["Global Python Environment"]
    GP["🐍 System Python<br/>Installation"]
    PA["📁 Project A"]
    PB["📁 Project B"]
    PC["📁 Project C"]
    end

    PA -.- GP
    PB -.- GP
    PC -.- GP

    style GP fill:#ff9999
    style PA fill:#e1f5ff
    style PB fill:#e1f5ff
    style PC fill:#e1f5ff
Environment Visualization
graph TD

    subgraph ProjectB["Global Python Environment"]
    GP["🐍 System Python<br/>Installation"]
    PB["📁 Project B"]
    end

    subgraph ProjectA[".venv"]
        PA["📁 Project A"]
    end


    subgraph ProjectC["my-venv"]
        PC["📁 Project C"]
    end

    PA -.- GP
    PB -.- GP
    PC -.- GP

    style GP fill:#ff9999
    style PA fill:#e1f5ff
    style PB fill:#e1f5ff
    style PC fill:#e1f5ff
Environments
There are two main options for setting up Python environments:
venv
Comes with the latest Python installations, creates a folder with symlinks to the packages.
conda
Part of the Anaconda/miniconda world.
Can be used both as a package manager and for environments.
Aside on Conda
Conda manages both Python installations, packages, and environments from outside Python.
Venv manages Python environments from within Python.
Anaconda is a distribution of (1) a Python installation, (2) Conda environments, (3) a bunch of default packages.
Miniconda is a distribution of (1) a Python installation and (2) Conda environments.
Use Python Environments
You should be using environments for any language, but especially for Python.
- You will have multiple versions of Python installed at once
- Python package managers historically handled dependencies poorly
- Updating one package would break another package
- The latest versions have started giving warning messages if you try to install packages system-wide
Creating an Environment
For venv the command to create a virtual environment is…
Creating an Environment in VS Code
Luckily VS Code’s Python Extension makes handling these environments easy.
Open the Command Palette
Shift+Cmd+PSearch for “Python: Create Environment…”
Select either “venv” or “conda”
Select the Python interpreter (version) to use
Now whenever you launch a terminal for this workspace, it will use the environment you created.
Live Coding Example
- Create a new VS Code workspace
- Create a Python environment with
venv - Install the
numpypackage in that environment
Python Packages
Python Packages
Packages are how you can import functions.
You will sometimes see “Modules”. A package could have one or many modules within it.
Packages can be installed using
pipbuilt in to Pythonconda
Pip Install Packages
pip stands for “pip installs packages”.
- recursion joke!
It installs Python packages hosted on the Python Package Index (PyPI).
python3 -m pip install numpy is executed in a terminal, not in Python code itself, unlike R or Julia.
Conda Install Packages
Installs packages hosted on the Anaconda repository.
Can also install other software, like R.
You can also use pip install to install packages in a conda environment, but this can cause conflicts, so you should use conda install by default in this situation.
Importing a Package
Once a package is installed (to your environment), you can…
- Import the package and shorten the name
numpy is a package for numerical computation (ex. better arrays and linear algebra).
Importing a Package, Other options
- Import the package without shortening the name
- Directly import one function of the package
- Directly import all functions of the package
The first option is what is recommended and used most often.
Python Basics
Variable Assignment
Python uses a single = for assignment
Basic Math
Math is not that different:
Logic
Logic operators are written out instead of symbols.
Python Data Types
- Booleans
- Numbers: Integer, Floating
- Strings
- Collections:
- List, Tuple, Dictionary, Set
Lists
Lists are constructed as comma-separated elements in square brackets
Tuples
Tuples are constructed as comma-separated elements in parentheses.
Tuples are immutable; lists are mutable.
- i.e. you cannot change values of tuples once created, or add additional elements
Sets
Sets are constructed as elements in curly braces.
Dictionaries
Dictionaries are constructed as key:value pairs in curly braces.
{'RI': 'Rhode Island', 'MA': 'Massachusetts', 'VT': 'Vermont'}Python Indexing
Python starts indexing from 0.
For some people, this is the mark of a true programming language.
One of the most common errors when switching between R and Python.
Slicing
Python can slice sequences using start:stop (stop is exclusive).
Leave out start or stop to go from the beginning or to the end.
For Loops
Python is space sensitive.
For example, a for loop requires the looped lines to be offset by at least one space (customary to use a tab—4 spaces).
Ending For Loops
Python does not have an “end” statement to end a for loop.
Instead, the for loop ends when the spacing ends.
If Statements
Python uses if, elif, and else — with spacing, just like loops.
Compare to R’s if (...) { } else if (...) { } and Julia’s if ... elseif ... end.
Python uses elif (shortened) and spacing instead of braces or end.
Objects
Python is an object-oriented programming language.
Example: a list is an object.
Objects have
- Properties
- Methods
Classes define objects; objects are the actual instance of the class.
Methods
Methods are a key feature of Python.
Methods are functions attached to an object that operate on the object.
Methods are Functions
Remember: methods are a type of function.
You can think of methods as functions that always take as an input the object they are defined for.
They may take other inputs as well.
Every object has their own methods. The sort() method is not defined for tuples.
Append Method
If you wanted to append an element to a list…
What Methods Does an Object Have?
You can print all the methods of an object with the dir() function.
- dunder methods: have double underscores, like
__init__(), are special methods that are used by other Python functions.
['__abs__',
 '__add__',
 '__and__',
 '__bool__',
 '__ceil__',
 '__class__',
 '__delattr__',
 '__dir__',
 '__divmod__',
 '__doc__',
 '__eq__',
 '__float__',
 '__floor__',
 '__floordiv__',
 '__format__',
 '__ge__',
 '__getattribute__',
 '__getnewargs__',
 '__getstate__',
 '__gt__',
 '__hash__',
 '__index__',
 '__init__',
 '__init_subclass__',
 '__int__',
 '__invert__',
 '__le__',
 '__lshift__',
 '__lt__',
 '__mod__',
 '__mul__',
 '__ne__',
 '__neg__',
 '__new__',
 '__or__',
 '__pos__',
 '__pow__',
 '__radd__',
 '__rand__',
 '__rdivmod__',
 '__reduce__',
 '__reduce_ex__',
 '__repr__',
 '__rfloordiv__',
 '__rlshift__',
 '__rmod__',
 '__rmul__',
 '__ror__',
 '__round__',
 '__rpow__',
 '__rrshift__',
 '__rshift__',
 '__rsub__',
 '__rtruediv__',
 '__rxor__',
 '__setattr__',
 '__sizeof__',
 '__str__',
 '__sub__',
 '__subclasshook__',
 '__truediv__',
 '__trunc__',
 '__xor__',
 'as_integer_ratio',
 'bit_count',
 'bit_length',
 'conjugate',
 'denominator',
 'from_bytes',
 'imag',
 'is_integer',
 'numerator',
 'real',
 'to_bytes']
Not Everything is a Method
Some functions that you would expect to be methods are not.
Example, len() returns the length of an object.
---------------------------------------------------------------------------
AttributeError                            Traceback (most recent call last)
Cell In[43], line 2
      1 x = [1, 2, 3]
----> 2 x.len()

AttributeError: 'list' object has no attribute 'len'
But len() is not a method of a list, even though you might expect it.
Define Your Own Functions
Python functions are defined with the keyword def and spacing:
F-Strings
Python’s f-strings let you insert variables directly into strings.
Prefix the string with f and use {} for expressions.
You can put any expression inside the braces.
Compare to R’s paste0("Hello ", name) and Julia’s "Hello $name".
Define Your Own Classes (Objects)
You can define your own classes with the class keyword.
Pandas
Working with Data
Pandas is a package that implements DataFrames in Python.
First, you need to install pandas
Then, import it in your Python code:
Pandas DataFrame Example
The construction of a DataFrame is based off of the dictionary objects.
Series
Each column of a DataFrame is a Series.
DataFrame Methods
Dataframes have a lot of their own methods.
describe() will summarize all numerical columns.
Reading and Writing CSVs
A crucial step is reading and writing data.
Writing it out is a method:
Other Python Packages
numpyvectors, arrays, numerical analysispandasDataFramesmatplotlibplottingseabornplotting with pandas DataFramesplotlyinteractive plotsScikit-Learnmachine learningTensorFlowNeural NetsPyTorchNeural Nets, but using GPUsBeautifulSoupweb scraping
Class Activity
Class Activity (~ 5-10 minutes)
Starting from this list:
Tasks:
- Use
.append()to add38to the list - Use
.sort()to sort the list - Use slicing to get the first three temps
- Write a
forloop that prints"Cold!"for temps below 30 and"Warm!"otherwise
Jupyter
Jupyter Background
Developed in 2014.
It’s name is a reference to the three core programming languages it supports:
- Julia
- Python
- R
Today now supports many more languages (SQL, Ruby, …).
Jupyter Products
Jupyter Notebooks
- Interactive notebooks with code + markdown for many languages
- Browser based editor
JupyterLab
- Newer improved browser based editor for notebooks
JupyterHub
- Cloud-based jupyter notebooks
Jupyter Notebooks
Requires:
- Python installation
- Python package:
python3 -m pip install jupyter
To use in VS Code, you need the “Jupyter” extension.
Using an Environment
If you are using a “.venv” environment, you’ll have to install jupyter in that environment.
In VS Code,
- Command Palette > “Python: Create Environment…”
- Select “venv”
- then
python3 -m pip install jupyterin the terminal
Creating a Notebook
Jupyter notebooks have a unique extension:
.ipynb: interactive python notebook
Simply create an empty file with that extension and VS Code will recognize it as a Jupyter notebook.
Kernels
Jupyter Notebooks execute code by sending it to one of many possible “kernels”.
You can choose as your kernel:
- Python
- Julia
- R
- other languages you set up.
Using a language as a kernel requies some setup for each language.
Python Kernel
Python can be used as a Kernel once the jupyter package is installed.
I recommend using your python environment “.venv” as your kernel.
- should be where you installed jupyter
- keeps your packages self-contained
Julia Kernel
To use Julia as a kernel, you first need to install
IJuliapackage
Note: this is a Julia package, not a Python package.
Here it is probably easiest to just install IJulia system-wide
R Kernel
To use R as a kernel, you first need to install
IRkernelpackage
Note: this is a R package, not a Python package.
Here it is probably easiest to just install IRkernel system-wide.
You should also run the following in R to finish the setup: IRkernel::installspec()
Choosing a Kernel
Whenever you open a Jupyter Notebook you will be able to choose the kernel you want to use.
- Your choice will be saved
- You can always change kernels later
- though switching languages would probably break your code
Notebook Cells
Jupyter notebooks have two types of cells:
- Markdown Cells
- Code Cells
Markdown Cells
Markdown cells allow you to write and render markdown.
You can actually do this without any kernel attached.
All of the usual markdown formatting is allowed (headers, links, bullets, etc.)
Code Cells
Code cells are where you write code.
Each code cell can be execute individually.
Output, errors, and warnings are displayed after the individual code cell.
The .ipynb files
The “interactive python notebook” files are actually just JSON files.
JSON is a common file format.
- stores data as arrays and key:value pairs
You can always open up a Jupyter notebook with a basic text editor.
- You will be able to see each “cell”
- But it will be messy
Output Included
A key feature of Jupyter notebooks is
- the output of code cells are included in the JSON file
This means
you can send your file to someone else, they can open it, and see your results, without having to run the notebook
the notebook files can get very large
git diffs are a big mess
Editing and Running Jupyter Notebooks
Two options for editing Jupyter Notebooks:
in the browser
in VS Code
Editing Jupyter Notebooks in the browser
This is the default built in to the jupyter package.
In your workspace run:
This will launch a http server in the terminal.
- This terminal must stay open while you are using Jupyter!
And it will open a window in your browser with the editor.
Editing Jupyter Notebooks in VS Code
Once you have installed the Jupyter VS Code extension
- you can edit and run Jupyter Notebooks witin VS Code
Behind the scenes, VS Code will launch the kernel as a http server, send the code to it, bring back the results.
Interactive Window in VS Code
The Jupyter extension also allows you to run code interactively in a “Jupyter Interactive Window”.
This is like a better Python terminal.
- You can send code to it from a Python file
- Displays output and errors in a more readable way than the terminal
- Easier copying and pasting
- Displays plots and other rich output in the window
Interactive Notebooks
List of Interactive Notebooks
rmarkdownRPluto.jlJuliaQuartoJulia, Python, RJupyter NotebooksJulia, Python, R
Jupyter’s big difference: output is included in the notebook file.
We will be covering Quarto later in the semester.
Interactive Notebook Pros
Documentation / thoughts right next to code
Make reports / slides / exciting output
Easy to share the output with others
Documents are never out of sync with the code
Interactive Notebook Cons
Often harder to maintain code environments
Introduces a lot of dependencies
- can be hard for others to run your code
Encourages “single file” linear coding
- rather than separate scripts and functions
Harder to run unit tests, debuggers, other software engineering tools
When to use Interactive Notebooks?
I love to use Quarto (and before that rmarkdown).
- websites and presentations for class or Macro Workshops
- trying out new ideas for my research projects
- I make PDFs of the results for my advisor and I to look at
But I think your research project should not be in a notebook.
- You want to be able to run your project end-to-end with only the necessary dependencies
- You want others to be able to run it easily
- You want to be able to test/debug/optimize the code
Live Coding Example
Live Coding Example
- Launch a Python REPL in VS Code
- Launch a “Interactive Window” for Python in VS Code
- Launch a Jupyter Notebook in VS
- Launch a Jupyter Notebook in the browser:
jupyter notebook